Thursday, June 9, 2016

Can the Sales!

Often times when the subject of canning comes up, the common response I get is that the person I'm talking to doesn't have a garden, so they don't can. The thing about it is, though, you don't necessarily need a garden! Most grocery stores have their weekly ads available online, so why not check out what's on sale and can that? As we have learned in my previous post What to Can, there are a great number of items that can be preserved by canning.

For example, my local grocery stores have the following "cannable" items on sale this week:


Beef Roast (Rump)


I realize that this first one is a little bit of a strange one, but canned meat is fantastic! One of my nursing home residents told me that her husband used to go hunting every year, and a portion of what he shot got canned. Later on, after his health had declined a bit and he was no longer able to go hunting, she would scan the ads to find meat that was on sale, and can it. Grandma always canned a portion of the game that grandpa shot, too. I thought it was a great way to preserve your meat, and it is super easy to use. Some of the best loose meat sandwiches I've ever had came from home-canned meat! Here are some instructions on canning meat.


Roma Tomatoes

Since Roma tomatoes are a paste tomato, it stands to reason that they would be made into tomato paste. Click here for an easy tomato paste recipe that includes canning instructions.


Grapes

Grapes are nice because you can juice them and can the juice, or you can make grape jelly. You could even mash them up to make wine, but then you would need to bottle it, not can it. Besides, that's another blog post in itself.


Peaches or Nectarines


In my family someone always had a peach tree, so there were always peaches to be canned in the fall or winter. While the obvious choice would be to preserve peach slices in a light syrup, you could also make them into jam, jelly, or pie filling, and can that. Nectarines can also be used in place of Peaches, since the only difference between the two is that nectarines lack the fuzz that peaches have.

Plums

I had never considered it before, but you can make plums into jelly or jam. Although I've never tried it, I think it would be an option worth exploring!


Asparagus

Asparagus is an fairly easy vegetable to can. If you have tall, thin jars you can preserve the spears whole, if not, you can just as easily snap them and preserve them in another type of jar. All you need to can asparagus is a little salt and some water, but if you're feeling daring you could always pickle it! Either way, the instructions are here.


Pineapple

Although I had never considered it before, I came up with the idea that one might be able to can pineapple at home several months back, and I spent an entire workday obsessing about the idea. When I got home I finally had the opportunity to research the subject, and was quite satisfied at how easy it is to can pineapple.


Carrots


  You can either can your carrots on their own, or you can use them to compliment other items, such as pickled jalapenos. Likewise, you can pickle carrots and can them.

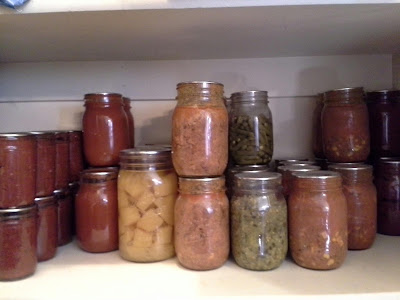


Apples

  I love apples because there's just so much you can do with them! The top "cannable" items to be make with apples are, for me, apple jelly, apple butter, apple sauce and apple pie filling.


Don't forget! If you have any questions about canning equipment, boiling water canning, or pressure canning, I've got info to help you! Please note that the boiling water canning link sends you to a recipe, but at the bottom of that recipe is boiling water canning instructions.

Thursday, June 2, 2016

Cotton Ball Fire Starters


So, I've already taught you how to make egg carton fire starters to get your campfires started, but suppose you don't have any with you. Now what? Not to fear! I will teach you how to build a fire using another means!

I was trying to decide if I should make my fire "from scratch" or demonstrate one of my methods of fire-starting from my day pack. I chose the latter.

Here's what you'll need to make your little cotton ball fire starters:
Cotton Balls
Petroleum Jelly
Zip-top Bag

Put a few handfuls of cotton balls into the zip-top bag, add a dallop of the jelly, seal, and knead until the cotton balls are coated. If they don't quite all get a dose of the jelly, just add a bit more and knead again. So easy! Now you can put them in your day pack, along with your steel wool, magnesium bar, and sparker.


So, I set up my fire pit with some chunks of wood we wanted to get rid of. On top of that I placed some pine cones. Small, rough items such as pine cones or bits of bark with allow your flame to "catch hold" and grow. Typically you would start with very thin, papery items such as dry grass, moss, papery or fiberous bark, or thin wood shavings. Since our cotton balls are taking its place, we won't need papery items, just something for the flame to hold onto.


Take a few of your greasy little cotton balls and spread them open a bit. The spark will ignite the dry cotton you've uncovered by spreading it open, and the petroleum jelly-covered parts will act as a torch to keep the flame burning long enough for you to add kindling.


I attempted to use my sparker to ignite the flame, but I was using the notched edges on the side, which didn't throw off a very big spark. Willie took over and used the flat edge at the top to produce a spark large enough to start the fire. 


Check out the video to see how easily these little fire starters ignited!