Showing posts with label camping. Show all posts
Showing posts with label camping. Show all posts
Sunday, November 13, 2016

Monday, June 8, 2015
72 Hour Emergency Kits

Recently Willie and I went out on an excursion in our side by side ATV. We decided to sort of take an inventory of what we had, what we needed, and what we didn't need for each trip. One of the things that was somewhat worrisome to me was that we hadn't packed any emergency food supplies. Although we were on fairly well-marked trails, you never know what might happen. I had seen an idea for a very simple 72 hour kit on Facebook a while back and thought that I could adapt it somewhat. So, I set out to Wal-Mart with my list in hand!
Based loosely on the original idea I picked up gallon-sized plastic canisters and stuffed them full of food. Willie suggested that packing canned goods or "wet" goods might not be ideal, so all the items I picked up are dry goods, freeze dried items, and items that only require water to be added. I was also careful to select items that would not readily melt in the heat (i.e. chocolate dipped cookies or chocolate chip granola bars.)

2 packs of granola bars (they come two to a pack, so four bars total)
2 individual drink mixes
2 envelopes Lipton soup
3 packages of sandwich crackers
4 beef sticks
3 fruit rolls
24 hard candies
2 packages hot chocolate
1 package freeze dried fruit
1 package ramen noodles
2 packages nuts (they were small, so I put two)
1 package Bel-Vita biscuits
No, these items are not the healthiest foods for you to eat, but they will keep you alive for three days, and should give you enough energy to be able to get yourself out of whatever emergency situation you may find yourself in.

Once all of those items were packed in, I said "There's more room, so maybe we'll put in..." Willie finished my sentence "Coffee and gum!" He wanted our kits to be sort of like MRE's. He also suggested matches and toilet paper. We put the toilet paper, matches and gum in ziploc bags. This would prevent the paper from getting ruined, and all our other foods from tasting like mint or sulfur. I found some little blue sporks in our camp trailer that I had forgotten about, and in they went too!

So here's what we added:
1 package Trident gum
3 packages instant coffee
strike anywhere matches
toilet paper
plastic spork

Thursday, May 28, 2015
Rocket Stove
At the beginning of March I was getting all antsy for it to be spring so I could go out and get stuff done outdoors. Then, nature dumped a whole bunch of snow on us, and my plans had to be postponed. So, I had the idea that as the snow melted I would collect the bits of wood and bark that turned up to use in our rocket stove.
 The best part of a rocket stove is that you can pretty well use anything small and flammable to fuel it. I gathered up sticks, bits of wood, pieces of bark, pine cones, and even the woody parts of some old dead weeds. If it will fit through the door and will burn, you're good to go!
 Basically, your stove is an insulated barrel with two doors on the front. The bottom door is for ventilation. The door in the center is used to feed the fire once it is established. There is also a little removable brick that fits into the center door, to insulate your coals and maintain heat once you have a good hot batch and no longer need to feed the fire.
 Open the door, remove the brick, and stuff in some fire-starting materials. (In this case, we used newspaper.)
Fill the top of the stove with the fuel. (Sticks and whatnot.)

Light the starting material.

Allow the fuel to burn down until it is below the top of the stove.
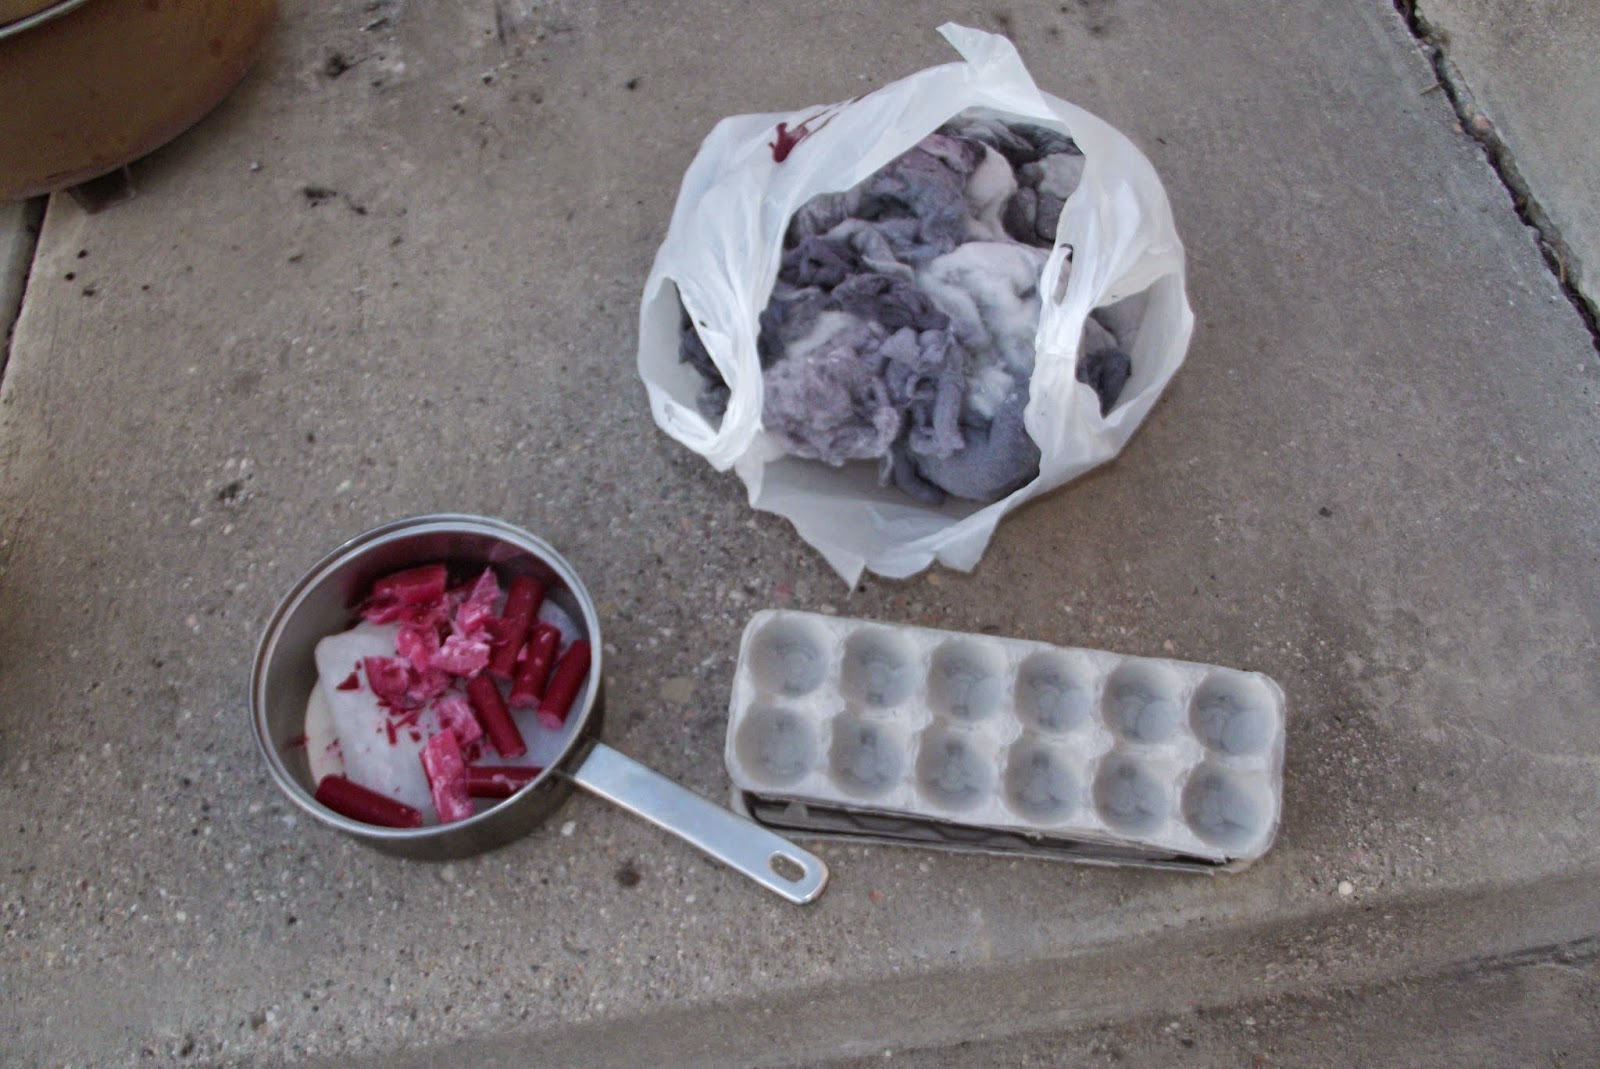
 Place your pan on top of the stove. Now that the pan is on top, you can feed additional fuel in through the fuel door, if you need to. Since it only took a short time to melt our wax, we didn't need to stoke the fire.
It won't take long to heat up your pan, my wax is melting nicely.
 Here's our wax, all melted and making fire starters.
This is why it's called a rocket stove. Woosh!
Don't forget, you can cook on a rocket stove. It works really well! It's small, portable, self-contained (besides a detachable grate for holding up larger pieces of wood so you can feed them through the door slowly,) it doesn't take much fuel to maintain a fire, and the fuel can be pretty much anything and can be found nearly anywhere. There are also plans online to make your own rocket stove out of various materials. While I can't vouch for the home-built stoves, rocket stoves are pretty ingenious and effective.
Friday, October 31, 2014
Deer Hunt 2014
 |
| Uinta Flat |
So, this year's deer hunt was sort of a bust. In four days we drove 200 miles, and were only able to catch a glimpse of a little 2-point buck. Since no one was able to get a clean shot, and none of us is so un-sportsman-like as to take a bad shot, we came home with no deer today. We did, however, get to spend a week camping on beautiful Cedar Mountain with friends. That was a definite win. Here are the best of the best of the photos we shot. If we couldn't shoot deer, we may as well have shot photos, right?
 |
| Dead Lake |
 |
| Beautiful firey aspen trees |
 |
| Pines on Asay Knoll |
 |
| Cool clouds over Asay Bench |
 |
| Sunset on Asay Bench |
 |
| Old dead aspen, near Duck Creek Village |
 |
| View of Asay Bench, taken from atop Asay Knoll |
Subscribe to:
Posts (Atom)