Thursday, June 11, 2015

Mom's Mexican Rice

Super simple Mexican rice that goes with anything from shredded beef burritos to saucy chicken tacos, and anything in between. Sometimes I just melt some shredded cheese on top and eat it on its own!
Your ingredients:
10.5 once can of tomatoes with green chiles
10.5 once can of condensed chicken broth
1 cup white rice
1 cup water
Garlic salt
Ground cumin
Vegetable oil


In a 10 inch skillet heat a bit of vegetable oil over medium heat. Pick through your rice and add to the pan. Cook, stirring frequently, until the rice is golden brown.


Add to the pan the broth, tomato/green chile, and a cup of water. 


Sprinkle garlic salt over the top (I don't have a real measurement for the garlic salt, we just sprinkle until we think we've sprinkled over the whole thing.) The next ingredient is the ground cumin.  If you want it more mild, use a 1/2 tsp. More spicy, 1 tsp. I usually go for somewhere in the middle. 


Bring to a boil, cover and reduce heat. 


Simmer, stirring occasionally, for about 20 minutes, or until liquid is absorbed. Please note that it is not a great idea to use a cast iron skillet for this recipe, it will cause your rice to taste like a cast iron skillet. I learned it the hard way while making the batch for this post.


Monday, June 8, 2015

72 Hour Emergency Kits


Recently Willie and I went out on an excursion in our side by side ATV. We decided to sort of take an inventory of what we had, what we needed, and what we didn't need for each trip. One of the things that was somewhat worrisome to me was that we hadn't packed any emergency food supplies. Although we were on fairly well-marked trails, you never know what might happen. I had seen an idea for a very simple 72 hour kit on Facebook a while back and thought that I could adapt it somewhat. So, I set out to Wal-Mart with my list in hand!
Based loosely on the original idea I picked up gallon-sized plastic canisters and stuffed them full of food. Willie suggested that packing canned goods or "wet" goods might not be ideal, so all the items I picked up are dry goods, freeze dried items, and items that only require water to be added. I was also careful to select items that would not readily melt in the heat (i.e. chocolate dipped cookies or chocolate chip granola bars.)

Each kit got:
2 packs of granola bars (they come two to a pack, so four bars total)
2 individual drink mixes
2 envelopes Lipton soup
3 packages of sandwich crackers
4 beef sticks
3 fruit rolls
24 hard candies
2 packages hot chocolate
1 package freeze dried fruit
1 package ramen noodles
2 packages nuts (they were small, so I put two)
1 package Bel-Vita biscuits


No, these items are not the healthiest foods for you to eat, but they will keep you alive for three days, and should give you enough energy to be able to get yourself out of whatever emergency situation you may find yourself in.


Once all of those items were packed in, I said "There's more room, so maybe we'll put in..." Willie finished my sentence "Coffee and gum!" He wanted our kits to be sort of like MRE's. He also suggested matches and toilet paper. We put the toilet paper, matches and gum in ziploc bags. This would prevent the paper from getting ruined, and all our other foods from tasting like mint or sulfur. I found some little blue sporks in our camp trailer that I had forgotten about, and in they went too!


So here's what we added:

1 package Trident gum
3 packages instant coffee
strike anywhere matches
toilet paper
plastic spork


In total I paid about $35 for all the supplies, including the canisters. Since we didn't use everything I bought in the kits, I worked out how much I paid just for the supplies used in each canister. It worked out to be $12.23 per kit, not including the spork, toilet paper or matches, since I already had them lying around. Since I pack a lunch to take to work every day, the leftover snacks can go in my lunch! Now the only things that are missing are water, a cup, a pan, and a knife. Whenever we go out we are sure to always pack plenty of water, so that's no problem. Willie always brings a knife with him when we go out, so that works out well too. In my day pack I have a mess kit with a pan and cup, and a good knife. I hadn't looked in my pack for a while, so I got it out of my car and dumped it onto the living room floor to take inventory. That will probably be a future post.


Thursday, June 4, 2015

Food Preservation: Canning Equipment


Described below are the basic pieces of equipment you will need to begin canning. In later posts I will explain exactly how to use them all, but I thought that I ought to do an introduction and explanation of the things you will need to acquire in order to get started, before I make a post on how to do the actual canning.

Canning Jars - Modern canning jars come in a wide range of sizes ranging from 2 oz to a half gallon. There are two different mouth sizes, which are called regular mouth and wide mouth. They are self-sealing, which means that the lids will adhere themselves to the jars after processing for a set period of time. Processing can be done either in a boiling water bath, or inside a pressure canner, depending upon what foods you are canning.


Canning Rings - Canning rings are screw-on rings designed to hold the lid in place while processing. They hold the lid firmly in place until a vacuum is achieved and the lid adheres itself to the jar. After the jars are sealed, the ring may be removed for storage.


Canning Lids - Canning lids have a heat-activated adhesive around the edge which allows them to adhere to the edge of the jar mouth after processing. Once the jars are removed from the heat, after processing, a vacuum is formed which seats the lid onto the jar. Once the jar has cooled, a tight seal is formed and you can remove your ring for storage. You should be able to pick up your jar by the lid without it falling off, that is how strongly it adheres.


Pressure Canner - A pressure canner is a device used to can foods. It works by using the pressure to increase the temperature at which the foods are being processed. This heat kills bacteria better than the boiling water method, and also cuts processing times much shorter.


At the top of the lid there is a pressure escape stem which a weight fits over. This is how you control how many pounds of pressure are inside the vessel.


The weight comes apart and each of the pieces represents 5 pounds of pressure. Add just the base and it's 5 pounds of pressure. Add to that a ring and it is 10 pounds. The completed weight with both rings is 15 pounds of pressure.


The lid of the canner locks onto the pot by twisting after you have lined up the indicator arrows and dropped the lid into place.


Inside the lid you can see the gasket which seals in the steam and, therefore, the pressure. The nub on the lid toward the top of the photo is a pressure indicator button. Once the pressure inside reaches a certain level, a button on the top of the lid pops up. You should never attempt to open a canner while it is at pressure.


Inside the pot is a rack on which your canning jars rest. The rack keeps the jars away from the direct heat of the burner, and ensures that the boiling water at the bottom of the canner doesn't upset the jars while they are processing.


Always keep the user manual for your pressure canner on hand, and review it each time you use your canner. Working with pressure vessels can be dangerous and it never hurts to double check that you are doing everything right. There are instructions for the canner, instructions for canning (i.e. processing times, head space allowances, etc.) and even some good canning and pressure cooking recipes in here.


Canning Pot & Rack - Although pressure canning is viewed as the safest method of canning, as far as killing bacteria and avoiding food-born illness, boiling water canning is safe for certain foods and under certain conditions. If you wish you can purchase a large pot, like the one pictured at right, and a canning rack that fits inside. Sorry I don't have a picture of the rack, but I typically just use my pressure canner for my boiling water processing as well. Just don't lock the lid on, and it works fine!


Lid Lifter - A lid lifter is basically just a magnet on a handle. It is used to lift canning lids out of the hot water, and place them onto jars without your fingers contaminating the lids.


Canning Tongs - Canning tongs are used to lift and lower jars into and out of boiling water. Canning jars are very hot, even before they have been processed, so please always use your canning tongs to avoid injury.


Head Space Tool - The head space tool pulls double duty. The stair-stepped end is used to measure head space. (The amount of space between the food being canned and the rim of the jar.) The flat handle can be used to coax air bubbles out of the food before you process. Both are important in achieving the correct seal, no leakage, no explosions, and the correct shelf life.


Canning Funnel - A canning funnel is a specially designed funnel made to fit canning jars. Its opening is wide enough to allow the foods being canned to pass through easily. Canning without a funnel would be a huge mess. I think I would end up with more on the counter top than in the jars.


Tuesday, June 2, 2015

ATV Ride 5/30/15 - Summit Loop

This past Saturday Willie and I took our new side by side out to explore the network of trails near our home. We had no idea we were so close to so many gorgeous views! We set out from Summit, Utah and hit the trails, making a loop around so that we would end up back in Summit by the end of the trip. Here's some of the cool stuff that we saw:

Our first stop on the loop afforded us a glimpse of Brian Head Peak in the distance...
Brian Head Peak
...As well as Sugarloaf Mountain.
Sugarloaf Mountain
The next series of photos is a waterfall where one of the creeks came down the mountain, crossed the road, and then turned back into a waterfall to continue down the mountain. This was in the Dry Lakes Creek area, near the Twisted Forest Trailhead, but I'm not entirely sure which creek this one actually is. It was pretty cool, so I took lots of shots. There's even a picture of our side-by-side "conquering" the creek.


The twisted trees of the Twisted Forest Trailhead, which is right on the edge of the Ashdown Gorge Wilderness.


On our stop at the Twisted Forest Trailhead we began to be able to see over into Cedar Breaks National Monument. These next photos were taken at three different stops along the way. The middle three photos are the same ridge. I took three shots of it so that I could get the whole thing.


And, of course, I can't go anywhere without taking pictures of flowers! This little tiny, itty bitty plant was near the Twisted Forest Trailhead. I haven't been able to positively identify it yet, but it looks like a flowering succulent of some sort.


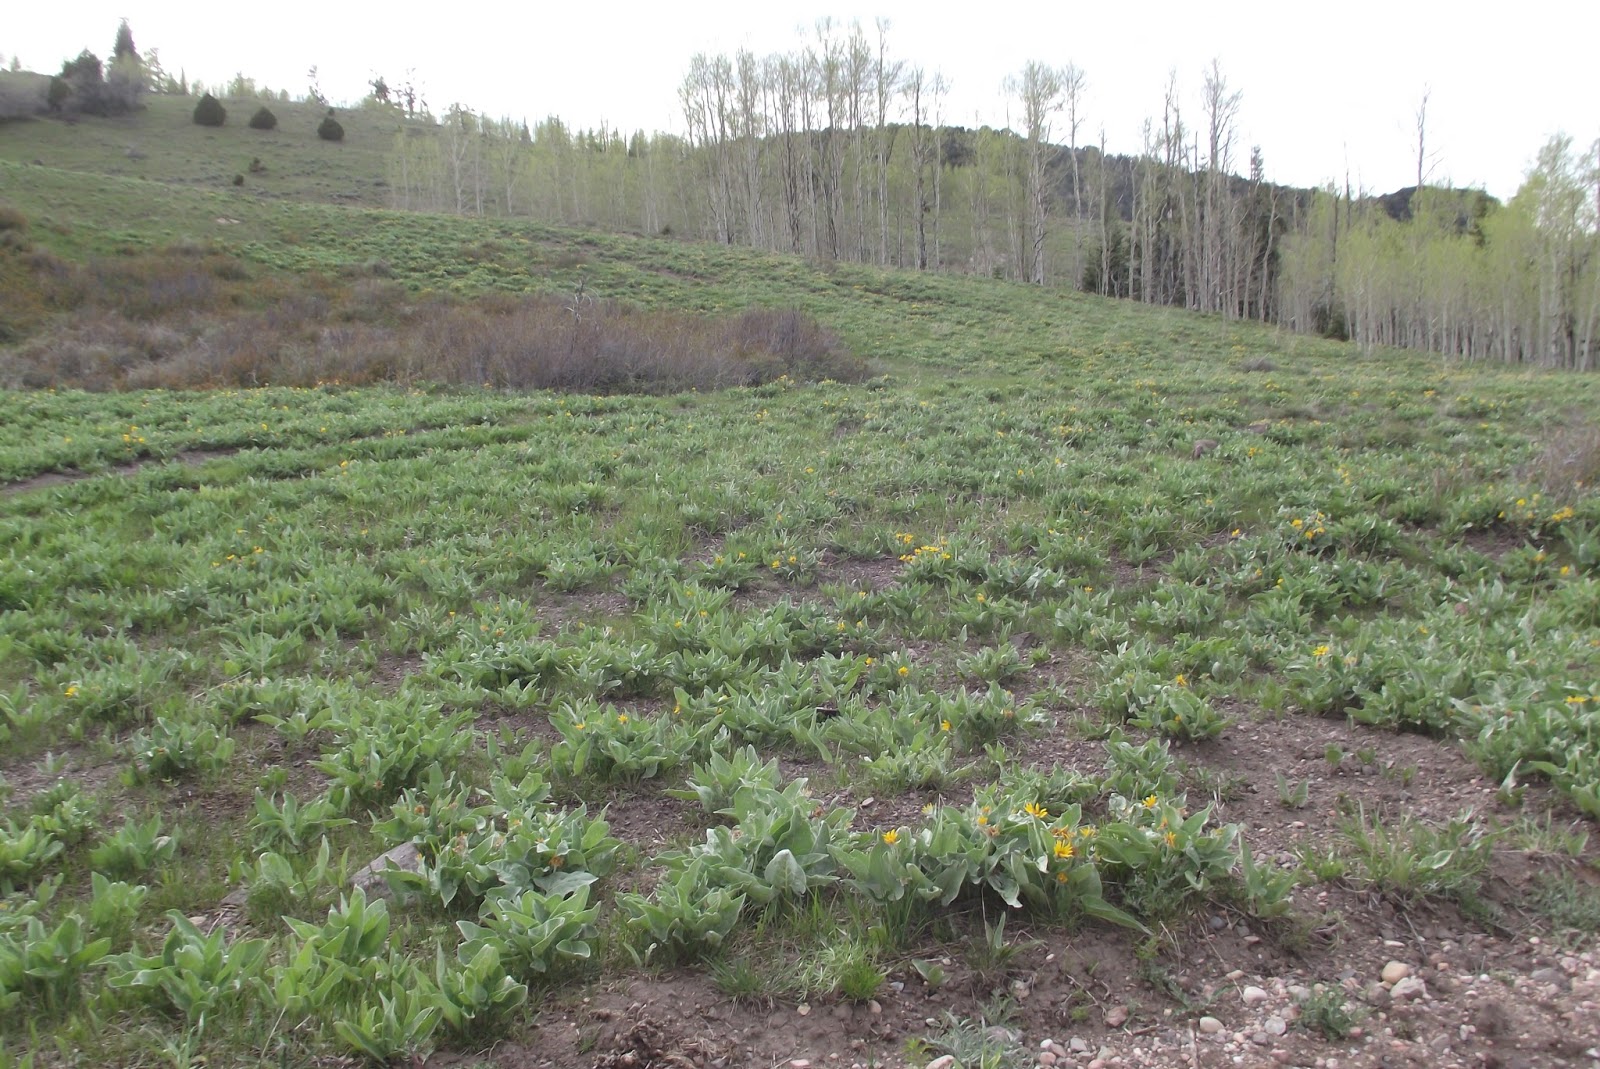
I'm fairly certain that these cute flowers are Little Sunflowers. We found a whole meadow that was just full of these little guys! The plants didn't grow very tall, as you can see, but each plant had at least a half dozen flowers on it.


There were other cool plants, waterfalls, cliffs, and scenic overlooks, but they were in areas where it was too dangerous to stop, or at the end of our trip when we didn't have as much time to stop and photograph. We were surprised to learn just how geographically close we are to Brian Head Ski Resort and Cedar Breaks National Monument. When you don't have to follow the main roads you can get to places like that a lot easier.

On this trip out we were really glad that we had our riding gear: glasses, hats, and kerchiefs to keep the dust and bugs out of our mouths. Willie remembered sunblock, I did not. We brought along our map, which had all the trails marked, so that we could plan out our trip. We brought beverages, and remembered toilet paper at the last minute. We also brought jackets and waterproof clothing. Our ATV doesn't have a roof, so if it started to rain we would definitely be needing those! Lastly we brought tools and a tire repair kit, in case something happened to the ATV.

There were also some things that we had wished we had. The first thing is a shovel or entrenching tool. If you have to poop in the woods, it's always best to bury it. It also comes in handy to have one if you get your vehicle stuck. The next thing we thought up is a Gerber Shard. It is a bottle opener, phillips head screwdriver, flat head screwdriver, and prying tool and it goes on your keychain. Next was a tarp, in case of a sudden heavy downpour, or in case you need a shady spot to rest on a long trip. It also occurred to me while we were out and about that we didn't bring any food with us, so I've started making some 72 hour food supplies that we can stow in our ATV for outings. You never know what might happen, right?

Thursday, May 28, 2015

Rocket Stove


At the beginning of March I was getting all antsy for it to be spring so I could go out and get stuff done outdoors. Then, nature dumped a whole bunch of snow on us, and my plans had to be postponed. So, I had the idea that as the snow melted I would collect the bits of wood and bark that turned up to use in our rocket stove.

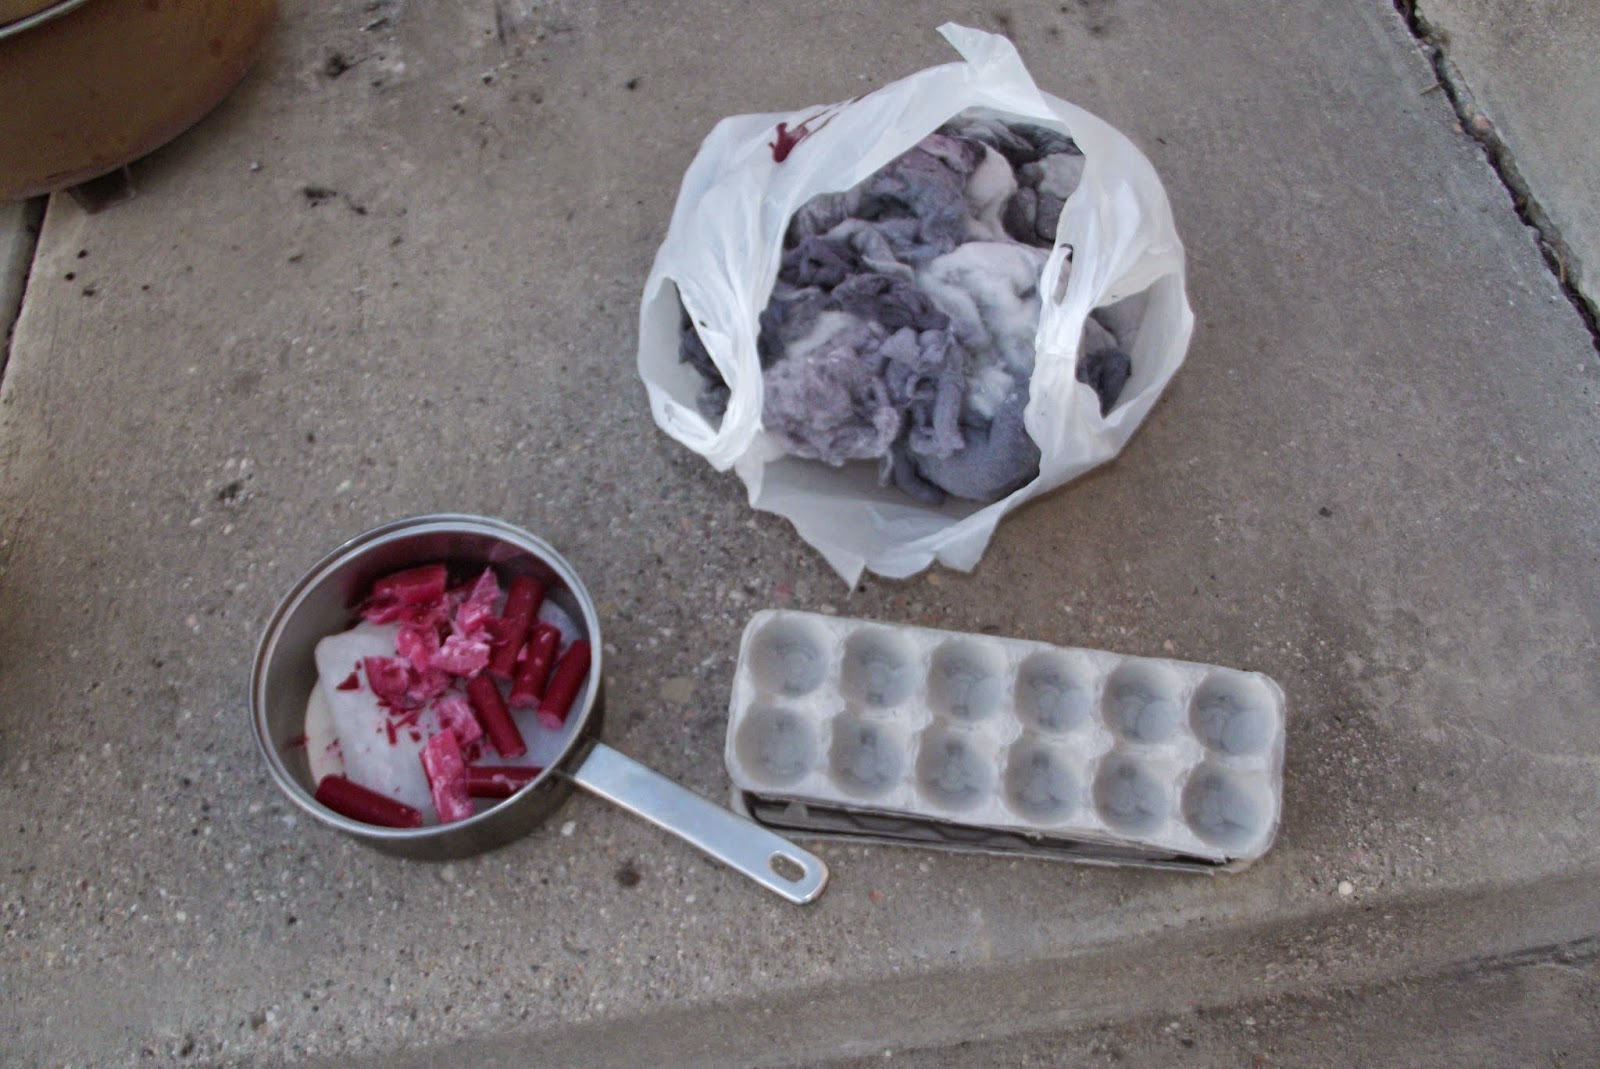
So, once the snow had melted enough, and I had a warm day, I gathered up the things to make egg carton fire starters with my rocket stove.


The best part of a rocket stove is that you can pretty well use anything small and flammable to fuel it. I gathered up sticks, bits of wood, pieces of bark, pine cones, and even the woody parts of some old dead weeds. If it will fit through the door and will burn, you're good to go!


Basically, your stove is an insulated barrel with two doors on the front. The bottom door is for ventilation. The door in the center is used to feed the fire once it is established. There is also a little removable brick that fits into the center door, to insulate your coals and maintain heat once you have a good hot batch and no longer need to feed the fire.


Open the door, remove the brick, and stuff in some fire-starting materials. (In this case, we used newspaper.)


Fill the top of the stove with the fuel. (Sticks and whatnot.)


Light the starting material.


Allow the fuel to burn down until it is below the top of the stove.


Place your pan on top of the stove. Now that the pan is on top, you can feed additional fuel in through the fuel door, if you need to. Since it only took a short time to melt our wax, we didn't need to stoke the fire.


It won't take long to heat up your pan, my wax is melting nicely.


Here's our wax, all melted and making fire starters.


This is why it's called a rocket stove. Woosh!


Don't forget, you can cook on a rocket stove. It works really well! It's small, portable, self-contained (besides a detachable grate for holding up larger pieces of wood so you can feed them through the door slowly,) it doesn't take much fuel to maintain a fire, and the fuel can be pretty much anything and can be found nearly anywhere.  There are also plans online to make your own rocket stove out of various materials. While I can't vouch for the home-built stoves, rocket stoves are pretty ingenious and effective.