Thursday, July 30, 2015

Easy Meals: Chicken and Waffles


Chicken and waffles is a very cheap and easy meal to make, and it tastes so dang good! At my house we make our own chicken strips and make waffles with all purpose baking mix.

First things first, put a baking rack on a baking sheet and place it in your oven. This will be your retrieval device. Set your oven's temperature to 200 degrees. Preheat your waffle iron, making sure that it is clean and greased. Preheat your deep fryer to 375 degrees. If you don't have a deep fryer, use a heavy-bottomed fry pan or dutch oven with enough oil that your chicken won't stick to the bottom. Remember not to use non-stick cookware for frying. Use cast iron if you've got it.


Once all that is in place, you can begin on your chicken. Combine 1 cup of flour, 1 tsp black pepper, 1 tsp salt, 1/2 tsp garlic powder, 1/2 tsp paprika, 1/2 tsp Santa Maria seasoning (or any kind of salty spice mix, seasoned salt, Cajun seasoning, etc.) 1/4 tsp onion powder, 1/4 tsp cayenne pepper. If you have a batter pro, like mine in the photo, this is the best way to bread your chicken. If not, just combine it in a shallow bowl and dredge it. That works fine too!


Crack a couple of eggs into a bowl and add about 1/2 cup of milk or cream, beat well.


Cut 2 or 3 boneless skinless chicken breasts into
thick strips.


Dip the chicken strips into your egg mixture and coat well. (You can let them soak around in there if you want to.)


Take your egg-dipped chicken and shake in batter pro, if using, or dredge in flour mixture to coat.


Place evenly-coated chicken pieces into preheated fryer or fry pan and allow to cook until golden brown on the outside. If you are frying in a pan, pay close attention to the temperature of your oil and adjust the heat on your burner accordingly. Once your chicken is golden brown, remove it and place it on your baking rack in the warm oven.


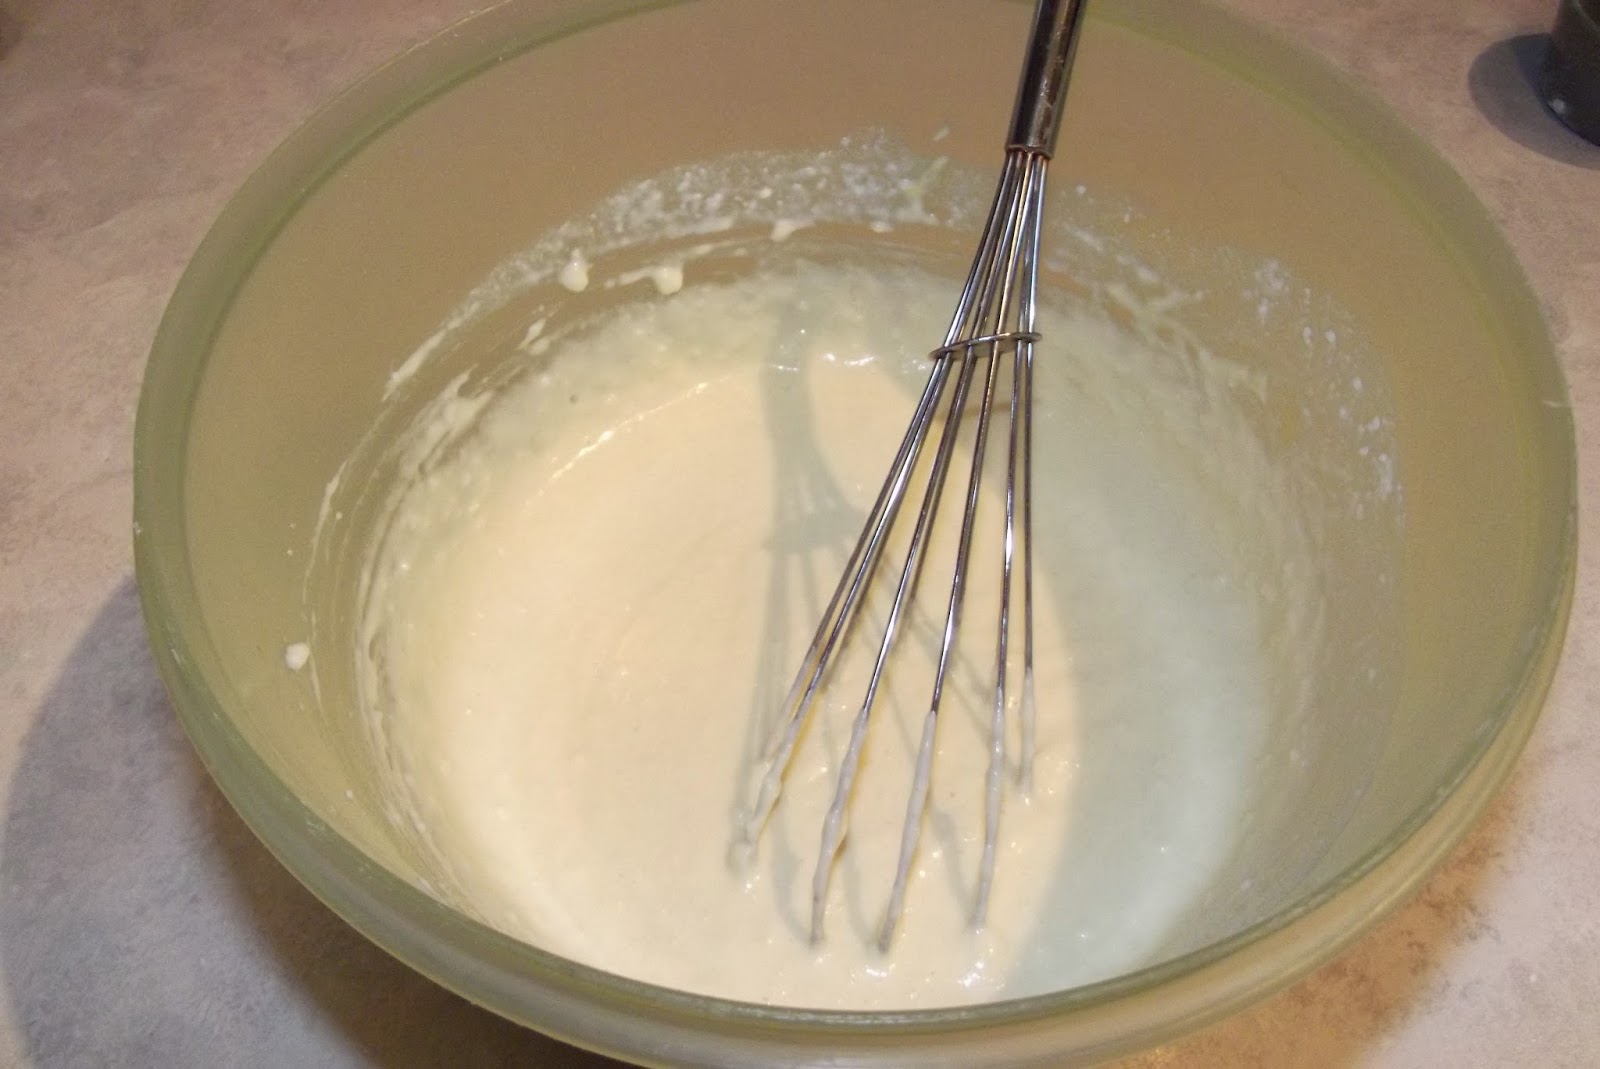
Meanwhile, you can make your waffles. In a mixing bowl measure out 2 cups of all purpose baking mix, 1 1/3 cups milk, 1 egg, and 2 Tbsp vegetable oil.


Mix to combine. Don't over mix, it is okay for your batter to be a little bit lumpy.


Ladle some batter onto your hot waffle iron and close that bad boy up.


Remove your waffles when they are golden brown and crispy, and add them to your baking rack in the oven.


After you've cooked up all your chicken and all your waffles, it's time to dig in! Grab some maple syrup for your waffles, and some dipping sauces for your chicken. I like barbecue and honey mustard for my chicken, Willie eats his with ranch. Enjoy!

Thursday, July 23, 2015

Newspaper Owls

This is another idea I got from the nursing home where I work. This was an arts and crafts project they did a while back. I thought they were so cute that I took a photo so I could figure out how to make them.

The first step is to find a sheet of newspaper with a lot of words on it. A long article, the arrests listing, the classifieds, they all make for good owls. Likewise, if you have a paperback novel that you're looking to recycle, its pages would make great owls as well.


Cut some owl shapes out of your newspaper. Just make a round bottom and horns at the top, doesn't have to be perfect.


Next, find some scraps of colorfully patterned paper. Any color or pattern should do nicely, but I would recommend abstract prints. It seems strange to me to make an owl out of paper printed with pictures of airplanes or ladies' handbags. Just a thought.


Glue your owl shapes onto the patterned paper, leaving plenty of space all around the shape.


While your owl bodies are drying, cut enough little orange triangles as you have owls. I've used construction paper for this. These will be the beaks.


Cut some circles out of black construction paper, and glue them to a sheet of white paper. I used a white pencil and traced around the end of my glue stick to get circles which were at least recognizable as circles, and which were roughly the same size.


Cut around the black circles, leaving a bit of white all around. These are your owls' eyeballs. Glue the eyes on first, then position the beak and glue it as well.


Find yourself some fancy patterned scissors (if you have them.) Cut all around the newspaper owl bodies, leaving a lot of your patterned paper showing.


There you are! Owls! Now, what can you do with them? Glue white ovals on their tummies and use them as gift tags. Punch a hole in the top and string some ribbon through to hang on your Christmas tree. Glue them to the front of a blank greeting card. Make tiny owls and glue them onto suckers to hand out at Halloween time. Hang them in a child's window. Better yet, make them with a child and let them hang their owls wherever they want!


Thursday, July 16, 2015

Bacon Ranch Pasta Salad

If you have read my post on Mom's Pasta Salad, you may have been able to tell that I like me some pasta salad! I decided to invent one a while back. It wasn't disappointing! If you are the type of person who really needs measurements for your recipes, it is time to look away because I just flung it all together!

Ingredients:
Bacon
Pasta
Black Olives
Cheddar or Colby Cheese
Green Onion
Ranch

The first step is to start your bacon cooking. Line a baking sheet with aluminum foil and put a baking rack over it. Lay out your bacon strips and pepper them. Put the pan into a cold oven and set the oven to 350 degrees. Bake it until it is a little crispy (it will soften up a bit in the salad.)


Next start your water boiling for your pasta. Add a bit of salt and olive oil to your water. Cook pasta according to package directions. When it is done, drain it and rinse it in cold water. Allow it to drain and dry out a little while you are getting your other ingredients together.


Slice up a few green onions, grate up a bit of cheese, and drain your black olives. If your olives are not already sliced, you will probably want to slice or chop them as well.


Get everything together in your bowl. When the bacon is cooked wrap it in a paper towel to pull off some of the grease as it cools. Chop your bacon and add it into the bowl as well.


Once your pasta is sufficiently cool and drained, add it in as well.


Start adding your ranch dressing a little at a time. Once it looks like you have enough in there, add a little bit more. The pasta will soak up a little bit of the moisture as it sits, and no one likes a dry pasta salad.

I discovered that this pasta salad really needs some time to chill and allow the flavors to blend. If you eat it right away the onion flavor is a bit too strong. Cover it up and put it in your refrigerator for a few hours. Chilling it overnight would be ideal.

Thursday, July 9, 2015

If You Can't Beat Them, Eat Them! Volume 2


When I was a kid I ate the fruits of the Common Mallow plant (also called Cheeseweed, Cheeseplant, or Dwarf Mallow) all the time, just plucked them off the vine and popped them into my mouth. We have a huge patch in our back yard, which the ducks graze on and the goats avoid. When they bloom, the bees come out in droves to pollinate them, and when they fruit the ducks and chickens eat up all the fruit. I wondered as an adult whether they were something that was actually edible, and, if so, were they something that was good for you, and what could you do with them. So, I did some research. As it turns out, not only are the fruits packed with fat and protein, but you can use them to make marshmallows. Yes, marshmallows! The videos below are part 1 and part 2 of a Common Mallow Marshmallow Making How-to.


In addition to eating the fruits, the leaves and flowers can be eaten raw, such as in a salad, or the leaves can be boiled. The leaves will give off a thick mucus when cooked, much like okra, and can be used as a thickener for soups and stews. In addition to culinary uses, the leaves and roots are also used as an herbal medicine for the treatment of numerous ailments.

Thursday, July 2, 2015

Food Preservation: Basics of Canning

Some of my favorite memories as a child are helping my grandma do her canning. Another is eating the foods that my family had canned. A lot of folks in my family canned while I was growing up. Mom, both my grandmas, great grandma, some of my aunts, even my great uncle!

The first order of business is to gather together your equipment, your food to be canned, and select your method of processing. In this case I am canning marinara sauce, so I will be using my pressure canner for processing. Once you have gathered your equipment, you should sterilize it either with boiling water or in your dishwasher, if your dishwasher is equipped to do so. It is important to time everything out so that your food and jars are hot at the same time that the water in your canner is boiling. It is also important to keep your  pressure canner's user manual handy. It will provide you not only with recipes and ideas, but important information regarding head space, canning methods, proper pressure, and proper processing times for canning your food.


While you start the water boiling, you should start filling your hot jars with hot food using your canning funnel.


Using your head space tool, measure how much head space you have and adjust accordingly. This recipe calls for 1/2" of head space. Your head space tool can also be used to release air bubbles trapped in the jar before processing. Foods such as vegetables, pickles and relish may have trapped air bubbles that need to be released. Just slide the rounded end of the tool down the edges of the jar and watch the bubbles bloop to the top.


Once your jars are full and have the proper head space, the rims of the jars need to be wiped clean with a damp dishcloth or paper towel. This will ensure that the adhesive can stick to the edge of the jar, without any food getting in the way.


Follow the manufacturer's instructions on how to sterilize your lids. The typical method for this is to submerge them in simmering water. Remove them from the simmering water with your lid lifter and place them on the jars, taking care to avoid contamination.


Once your lids are all in place, you should gather together your canning rings.


Twist on your canning rings and tighten until "finger-tight." You don't want to crank them down too hard, or your jars may explode, or too loosely, allowing the contents to boil over and out of the jar. It may take a few batches to get it right, so don't get discouraged!


Lower your hot and freshly lidded jars into the boiling water of your canner. Be sure to use your canning tongs to avoid your fingertips being burned by the hot jar, the steam, or the boiling water.


If you notice that the water level has dropped a bit, add enough hot tap water to bring it back up to the correct level. Bring the water back to a boil before moving on.


Once your lid is on and pressure is achieved, it will be indicated by this little button that pops up. This button also indicates that your canner is locked and the lid cannot be taken off until the pressure has dropped off. When your button pops up and there is a solid jet of steam coming from the pressure stem, set a timer for 10 minutes. When your 10 minutes is up, add your weight and watch it rock!


This first video shows what the movement of your weight will look like if the temperature is too high. See how it is spinning more than rocking, and how erratic its movements are?


Lower the temperature on your stove and it will slow down and become more rhythmic. You want a slow, steady, back and forth motion.


After your food has processed for the amount of time indicated in your pressure canner's user manual, turn off the heat and carefully move your canner away from the heat. Now, leave it alone and let it cool! Don't get impatient and try to hasten its cooling. This could not only affect the quality and safety of the food inside, but you are running the risk of injuring yourself as well. Just be patient and let it cool! Remove your jars with canning tongs and set them on a dishtowel on your countertop once the canner is cool enough to open.


Once you have put your hot jars onto their dishtowel home, leave them be. They shouldn't be bumped, jostled or moved again until they are completely cool. Listen for the pop as they seal in the video below.


Now it's time to enjoy your freshly canned foods! I had some leftover marinara sauce that wouldn't fit in my jars, so I made a "poor man's" Chicken Parmesan out of a chicken patty, complete with a hotdog bun garlic bread. Yum!