Thursday, May 28, 2015

Rocket Stove


At the beginning of March I was getting all antsy for it to be spring so I could go out and get stuff done outdoors. Then, nature dumped a whole bunch of snow on us, and my plans had to be postponed. So, I had the idea that as the snow melted I would collect the bits of wood and bark that turned up to use in our rocket stove.

So, once the snow had melted enough, and I had a warm day, I gathered up the things to make egg carton fire starters with my rocket stove.


The best part of a rocket stove is that you can pretty well use anything small and flammable to fuel it. I gathered up sticks, bits of wood, pieces of bark, pine cones, and even the woody parts of some old dead weeds. If it will fit through the door and will burn, you're good to go!


Basically, your stove is an insulated barrel with two doors on the front. The bottom door is for ventilation. The door in the center is used to feed the fire once it is established. There is also a little removable brick that fits into the center door, to insulate your coals and maintain heat once you have a good hot batch and no longer need to feed the fire.


Open the door, remove the brick, and stuff in some fire-starting materials. (In this case, we used newspaper.)


Fill the top of the stove with the fuel. (Sticks and whatnot.)


Light the starting material.


Allow the fuel to burn down until it is below the top of the stove.


Place your pan on top of the stove. Now that the pan is on top, you can feed additional fuel in through the fuel door, if you need to. Since it only took a short time to melt our wax, we didn't need to stoke the fire.


It won't take long to heat up your pan, my wax is melting nicely.


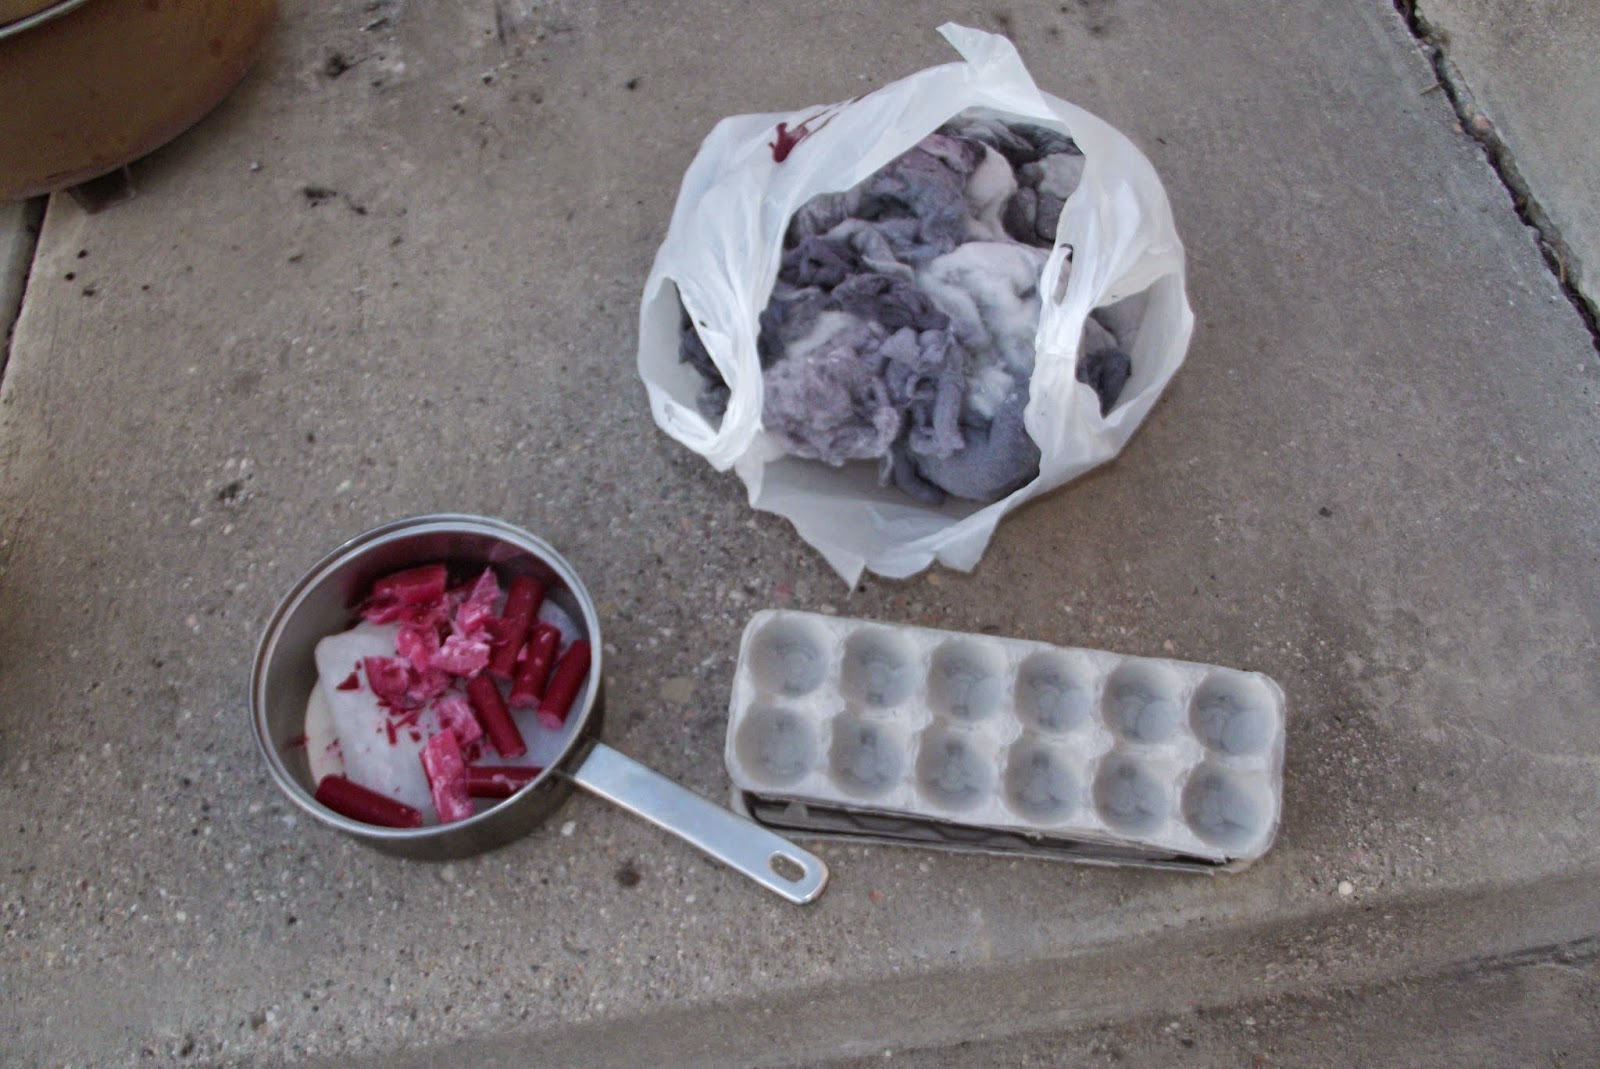
Here's our wax, all melted and making fire starters.


This is why it's called a rocket stove. Woosh!


Don't forget, you can cook on a rocket stove. It works really well! It's small, portable, self-contained (besides a detachable grate for holding up larger pieces of wood so you can feed them through the door slowly,) it doesn't take much fuel to maintain a fire, and the fuel can be pretty much anything and can be found nearly anywhere.  There are also plans online to make your own rocket stove out of various materials. While I can't vouch for the home-built stoves, rocket stoves are pretty ingenious and effective.


Thursday, May 21, 2015

Teacup Pincushions


I came across this idea in one of my many craft books a while back and decided to make a simpler version. I found a couple of cute teacups at a local thrift shop, and used them to perfect my method before I wrote this post.


So, the first thing you will need is your teacup and a piece of cute, coordinating fabric. A thrift shop cup and a remnant of fabric will do just fine! In addition, you will need a ruler or tape measure, a rotary cutter or scissors, a needle and thread, a hot glue gun, and some poly-fill..


Measure across the top of your teacup. You will need to cut out a circle of fabric that is about three inches larger in all directions.


If you have a rotary cutter and mat, it will make this project a lot easier!

Find an object that fits the measurement of the circle you need for your cushion, and use it as a guide for your rotary cutter. Or, if you don't have a rotary cutter, you can use this to trace a circle onto the wrong side of your fabric, and cut it out with scissors.


Now that you have your circle cut out (it doesn't have to be perfect, just circular) you will need to locate a needle and thread. Thread your needle and make the tail the same length as the string so that you have a double strand to sew with. If you don't do this, the thread may break when you try to draw your cushion tight, and you'll have to start all over again.


Use your needle and thread to baste around the edge of the fabric. Basting just means you're poking your needle in and out, back and forth, through the fabric.


Once you have basted all the way around the outside, you should be able to pull your two ends like a drawstring and form a purse shape.


Use some poly-fill to stuff your cushion. Stuff it as tightly as you can. Once it's all stuffed with fluff, draw your strings and tie them tightly to hold your cushion closed. Trim off the tails, allowing about an inch so that your knots don't come undone.


Stuff your cushion into your teacup, move it around, arrange it so that it looks just right. You might have to pull it out and try again a few times.


Once you like the appearance of your pincushion, plug in your hot glue gun and let it get hot.

Poke your finger down the edge of the pincushion and move it away from the side of the cup. Place a good dallop of hot glue down there, and repeat all around the cushion, making sure that you stick the cushion back to the side of the teacup where it should be.

That's it! Put some pins in it, you're done!


*Update*


I've learned a couple of new tricks to make cute pincushions! 

First, an easier way to cut out a circle: Measure and cut an appropriately sized square of fabric (remember to measure across the top of your teacup and add 6 inches.) 
Fold the square into quarters, and cut the open corner into a curve from corner to corner.
When you unfold it, you should have a neat little circle.

Next, if you find a cup and saucer set, here's how to stick them together: You will need an epoxy that will work for glass and ceramic (it will say so on the label) and will dry clear.
Turn your teacup over, and apply the epoxy in the indentation on the bottom of the cup. Make sure there's a good amount. Since the two components of the epoxy must be mixed, this little indentation makes a great work bowl. Use a popsicle stick, chopstick or any other disposable item you have ready at hand to mix the epoxy together thoroughly.
Place the saucer over top (or bottom, as it were) of the cup and invert both together. Take a moment to make sure your cup is centered on the saucer, then leave it to cure. The puddle of epoxy will drip down from the cup and run out to the edges, sealing the two together. That's why a goodly pile is needed.

Resist the urge to touch it, I know you're excited but the epoxy has to cure before you move it around!

Thursday, May 14, 2015

Food Storage: Canning Jars


Willie and I were going through our cabinets, trying to get everything organized, but it all looked so cluttered with so many different packages of dry goods and open, half-used ingredients. So, Willie had a brilliant idea: canning jars!


We bought half-gallon jars for the ingredients that we kept the most of, and then put the smaller amounts in quart- and pint-sized jars. All of our spices are also kept in pint-sized jars.


Rather than mess with traditional canning lids, we bought plastic storage caps.


For the items that we don't use as often, we found jar sealers that you can use with your Food Saver. You DO have a food saver, don't you?


Finally, to keep track of which thing is what, we used our label maker to label all of the jars. Brilliant!

Thursday, May 7, 2015

How to Clean Cast Iron

Once you've got a good piece of  cast iron cookware, you need to know how to take care of it. For a number of years I avoided using cast iron, because I thought that is was difficult to clean and maintain. Simply not the case! Here's what to do!
My potstickers lived up to their name.
First, if the food is dried on or will otherwise be difficult to scrub out, fill the pan with hot water and let it soak until it is loosened.


A little water
Dump out your soaking water and put a small amount of hot water back in. This is what you will use to wash the pan.


Dishcloth

Now, please read carefully: DO NOT use soap. DO NOT use an abrasive scrubber. You will see in the photo that all I have to wash it with is a dishcloth. That and some hot water is all you need, otherwise you will damage the seasoning and need to re-season more often. If you wash and there is still some stuck on, soak it a bit longer and go at it again.


Dry it up!

Once clean, rinse your pan, put it on the stove and dry up the excess water with a paper towel.


Don't look at my dirty stove, please!
Turn on the burner and allow it to thoroughly dry using the heat. Once dry, turn off the heat and let it cool a bit.


Well-oiled!
Add some vegetable oil and spread it all around the inside of the pan with a paper towel. Once the pan is completely cool, put it away.