When Willie went over to Dan the Goat Man's house to get Shaggy and Ronnie, there was this itty bitty, teeny tiny little newborn goat that he got to hold. He thought it was the cutest little critter ever. Whenever it would drink milk from its mother it would stop every few gulps and holler with satisfaction, as though that milk were the best thing that had ever happened in the history of forever. This was when he first met Dani. We got Shaggy and Ronnie in October, and when springtime rolled around we had a little extra cash from taxes. Naturally, we decided to head over to Dan's house to find a new friend. Ronnie would have her kids soon, and we didn't want Shaggy to get lonesome while she took care of them.
When we got there Dan had a special little goat that he wanted us to look at. She was a winter goat, and had spent much of the time indoors in a bin, as part of the family. When they brought out this fluffy little ball of fuzz, they called her Frankie, but it was the same goat that Willie had held back in October. She was happy and excited to meet new friends, and was hollering the whole time. Dan said she was hollering for her mother, but we would find out later that she didn't particularly need a reason, if only to hear her own voice.
Squeaky clean, baby!
We brought her home, and within a few weeks I gave her a warm bath. Seemed such a shame to allow a white goat to be dirty. She was not impressed.
Dani eating hay very timidly.
Playing "Keep Shaggy off the Wall"
The other two goats were none too kind to her, even though Shaggy was her half-brother. She was always getting kicked out of the house by Ronnie, who had decided that she would be the herd queen. Ronnie seemed to delight in kicking baby Dani out, especially in the rain, and baby Dani would stand outside and cry and cry! Of course this made my heart melt. It got to the point where I just couldn't stand it anymore. I donned my rain gear and trudged out to the goat house. I shoved little Dani into the house and shoved Ronnie back out. I kept her out in the rain for a few minutes, then started to walk back to my own house. As I walked I heard Dani cry again. I turned and repeated my exercise until I could walk all the way inside without Ronnie kicking her out. After several exercises such as this, Ronnie learned that I was the boss, and the boss wanted Dani inside.
Stepping on her brother the "lap goat"
A couple of months after Dani came to live with us, Ronnie had kids. During the time that Ronnie was occupied with raising her kids, Dani and Shaggy were able to develop a friendship. As one might expect it was one of a cool older brother and an annoying little sister. Dani thought she could claim the high perches, bite ears, and climb all over her brother. Shaggy did not care much for these ideas, and countered with head butts and ear bites aplenty. They had tallest goat competitions, and tried to sneak over to hang out with the baby goats. Whenever Shaggy was getting ear or tail scratches, Dani would clamber over top of him, whenever he was busy being a lap goat, she would sneak in an ear bite. They had races and head butting matches, Dani played "Keep Shaggy off the Wall," and they just generally loved being best friends.
Showing baby Toki how to be "bad"
Once Ronnie allowed her kids to play with the other goats, Dani struck up a friendship with baby Toki as well. Dani proceeded to teach Toki how to be a "bad" goat. Climbing to the top of the woodpile or the haystack, sticking their heads in the grain bin while I was scooping out food, sneaking out the gate to eat weeds and leaves in the side yard. Eventually their buddy-buddy relationship started to head down a more amorous avenue, and it became apparent that little Toki would need to be fixed. I loaded up baby Toki and his friend Dani, and off we went to Dan's house.
Giving baby Wolfie a nibble
While Dan performed the operation on Toki, Dan's daughter took Dani to meet the baby pygmy goats. She headbutted every single one of them. Dan's wife Gloria brought one of the babies to hang out with us. Her name was Wolfie, and Dani wasted no time biting her ear to show that she's the boss.
Get out of the grain, Dani!
When the babies were old enough to be weaned, Ronnie went on vacation for a month. While she was away, Dani tried her hand (or hoof) at being queen goat. The results, in a word, were detrimental. The goats stayed up all night and when they did sleep, they slept out in the open, or up on the steps. She led them in bouts of yelling, daily. She was a hellion.
Keeping Jezebel off "her" new tire
We were all very grateful when Ronnie came back, although we knew that Dani had done her best. Every now and then Ronnie still lets her have boss duties, but Ronnie is definitely the "in charge" goat.
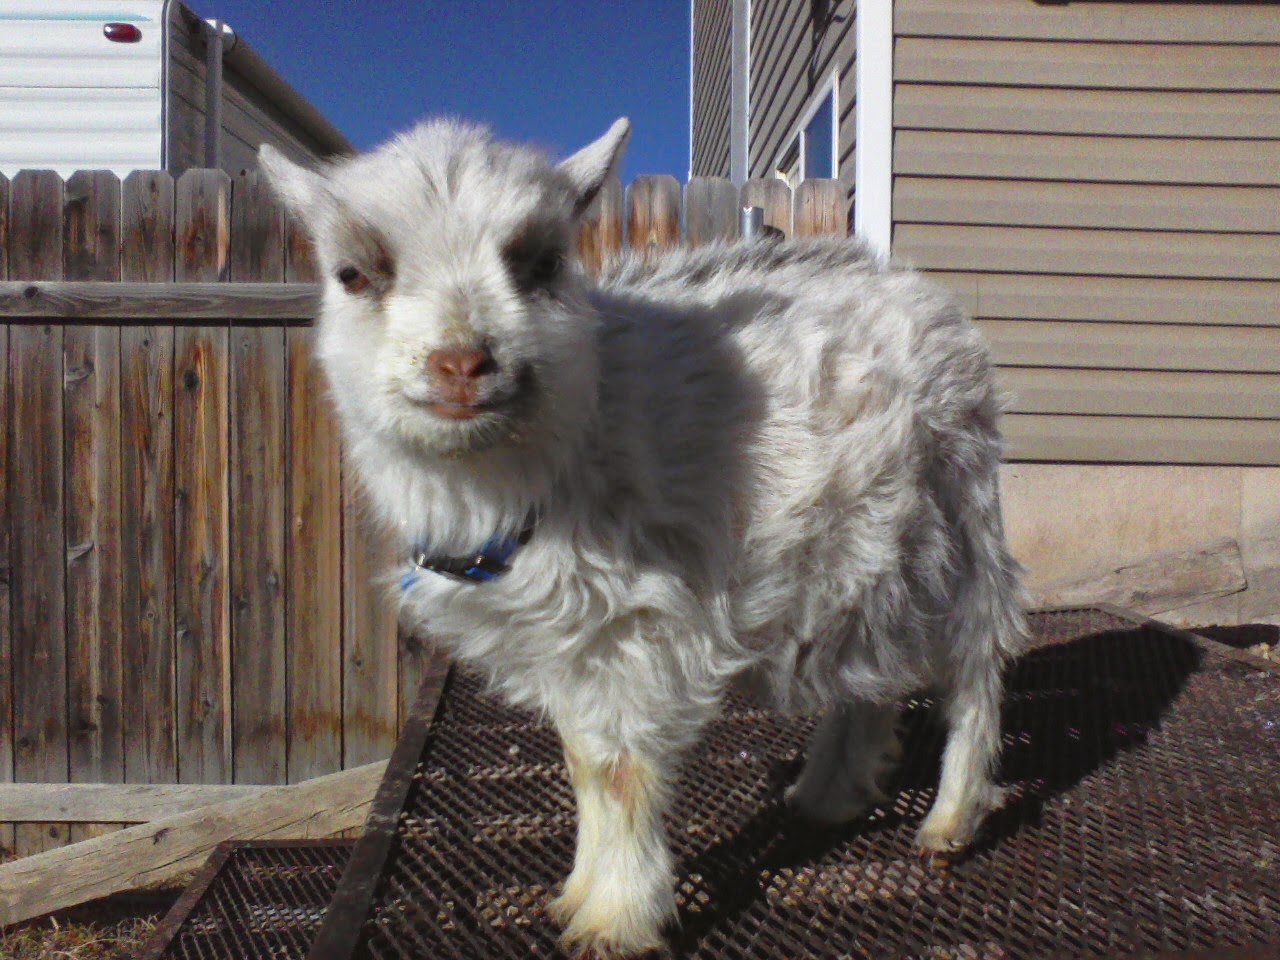
Look how pretty she is!
As her brother got sicker, Dani continued to be his friend and look out for him. All of the goats would go out to visit him and see how he was doing, and Dani would pal around with him and have mock fights with him. She loved her brother. After Shaggy passed, I came home from work and buried him. While I was working, I stopped to rest and I was very sad. Dani came to visit me. She just put her head on me, and was my friend. Even though she is loud, and is often up to shenanigans, she is my best friend. She is in trouble more often than not, but she always wants to be involved in whatever is going on, especially if it involves scratches and hanging out with her friend.
As Dani's friend, I find it only too fitting to share some embarrassing videos of her for the amusement of all who desire to view them. There's a couple of swears, so view at your own discretion.
I decided that as part of their Christmas this year, I would make my nieces some cute winter hats. Although I have crocheted hats before, I prefer to loom knit my hats. It's quick, easy, and I think it makes some darn cute hats! Please note that this is just the way that I do my loom knit hats, there are all sorts of ways to knit, tie, finish, and embellish. There's no wrong way to do it, just as long as it works!
For your hat you will need:
2 balls or skeins of yarn in coordinating colors
An appropriately sized round loom (I used a medium, which has 31 pegs)
A loom knitting hook
A yarn needle
A small crochet hook (I used size F)
Scissors
First, holding both strands of yarn together, make a slipknot.
Put your slipknot over any peg to start. (I prefer to start on the peg closest to the little peg coming off the side, but I don't think it really matters!) From the inside of your loom, wrap the yarn around each peg all the way around. This is called an e-wrap.
Once you have wrapped all of the pegs all the way around your loom, push the stitches down to the bottom of the pegs and wrap each peg again. You should end up with each peg wrapped twice.
Using your loom knitting hook, draw the bottom stitch up and over the top stitch. The pegs on your loom will have a groove in them to allow you to get the hook under the yarn easily. Start with the last stitch that you wrapped, so that it will lock in place and you don't have to worry about your yarn unraveling.
Continue this process until you have made a few inches worth of hat. This will become your finished edge. You can leave the edge as is, but the hats look much better with their edges turned up to make sort of a cuff at the bottom.
Each of your beginning stitches will have a loose sort of loop. This is the first stitch you made in the very beginning. Place each of these loops onto the corresponding peg above them until all of the loops are on pegs.
Draw the bottom stitches up and over these loops, just as though they were e-wraps. This will integrate the beginning stitches into the body of the hat seamlessly. No need to crochet or sew to connect it, simply knit it onto itself.
From here, continue to knit your hat until you have reached your desired length. Bear in mind the size of the head that the hat will go on, and how much of the length will be taken up by gathering to close the top. Cut the yarn to leave a very long tail. We will use this to gather and sew together the top of the hat.
Thread your yarn needle with the long tail. I prefer to use a plastic yarn needle for this project, as it has a bit of flexibility, and I am less likely to put my eye out. Pass your needle through each stitch, all the way around, removing the stitches from the pegs as you go.
Once you have passed your yarn tail through all the stitches and removed them from the pegs, pull on the tail to draw all the stitches together and close up the top of the hat. Use your needle to sew a few stitches across the hole, so that it doesn't open up. On the inside of your hat, tie the tail to one of the inside stitches with a sturdy know and trim off the excess yarn
Use your crochet hook to weave in the tail from the beginning of your project. This should be woven into the stitches on the inside of the hat so that it cannot be seen.
You're all done! Don't forget to experiment with different color combinations, different yarn types, or you could try using a different stitch or switching between stitches. You can also buy pattern books for your looms, and learn all sorts of good techniques to make a whole menagerie of interesting items. It's not just hats you can make on these looms, There's all sorts of stuff you can create!
These ornaments are super cute! I decided one Christmas many years ago that I would make Christmas ornaments to sell to my co-workers to make extra money. I invented these seashell ornaments as part of my stock to sell. I never made any real money, but everyone loved my seashell ornaments! Since I already had a bunch of seashells on hand, this was a fairly cheap project to complete. You will need some seashells that are large enough and thick enough to endure having holes filed in them, a drill, a small drill bit (I think the one I used here was 3/32), small glass or wooden beads with holes large enough for your thread to be drawn through (I found tiny pre-drilled shells in my bead box and decided to use those,) a small crochet hook (I used a size 10) and some crochet thread.
First off, find some interesting looking shells that are thick enough, and have openings large enough, to drill some holes in.
Make your holes as close as possible to the edge of the shell, without breaking it.
Locate the beads that you would like to crochet into the hangers, or, in my case, the tiny shells. Put your beads into a bowl or dish so they are easy to pick up as you are crocheting.
Make a slipknot in your crochet thread and pass your hook through the thread, and then through the hole in your shell. Yarn over and draw through the slipknot to form a stitch around your shell. Draw the thread tight around the shell, but be very careful and pull gently to prevent your thread from being cut by the edge of your shell.
Decide how far apart you would like your beads to be, and count out how many times you chain so that you can space the beads evenly around the hanger. I chained five, then attached my tiny shell. Make a stitch around your bead just as you did to attach your thread to the shell in the beginning. The stitch to attach your bead, and the following chain do not count in your spacing, they are just to lock the bead into place. So, stitch once through the bead, chain once to lock it, then start counting your chain stitches for spacing. Continue until your hanger is long enough to slip over a branch on your tree, then, after your last set of spacing chains, slip stitch to beginning stitch (the one that you used to attach your thread to the shell.) Fasten off and tie the tail from your beginning stitch to the tail on your ending stitch.
Use your crochet hook to weave in your tails, I wove them in just up to the first bead, and trim off excess.
There you have it! Put it on your tree! I like to make a set of 5 or 6, using different colors and shapes of shells.
I got my first Christmas card of the season the other day, and excitedly tore through my remaining Christmas decor in order to find my display I made several years ago. Unfortunately for me I couldn't find it. Fortunately for you I will show you how to make another one. All you will need is some Christmas-y colors of yarn, and some pin-style clothes pins.
Start out by measuring out nine strands of yarn, a few yards of each. Two yards is probably pretty good. I measured out closer to four, and ended up using around three.
Hold the ends of all your yarn strands together and tie a knot to hold them all together. Divide your yarn into three groups of three strands. You make the three groups out of three strands of each color or mix the colors together like I have here.
Begin braiding the strands together. It is helpful if you stand during the first part of braiding, as it will help you work the tangles out to the end where they are more easily dealt with. Please note that at the beginning of the braiding, you will need to stop frequently to work out the tangles. If you don't take care of them frequently you will end up with a terrible mess!
When you reach the end of your yarn, or your desired length, you will need to tie another knot.
Wrap the yarn around your two fingers, just above the end of the braiding, and pass the loose end through to form a knot.
Trim the ends of the yarn so that they are even.
Tack your braid up on the wall and, using the clothes pins, attach your Christmas cards. The braid should be just the right size to hold your card firmly in the slot of the clothes pin.
This idea came from Joanna Martinez's video on YouTube How to Crochet a Soap Saver. I decided to whip up a few of these fellows for some of the residents at the nursing facility where I work, as a few of the people there are allergic to the body wash that the facility provides, or have skin conditions that require them to use a specific brand of soap. In our showers at the facility there is really nowhere to store a bar of soap, so this idea was perfect, as it could hang on the shower knob. It also works well as a body sponge, just leave the bar of soap inside and scrub with the soap saver. This helps you to use up those little slivers of soap left at the end of the bar's life, too. When the soap gets small enough, just slip another bar in there along with it!
Since I already had all of the materials, this project was free for me to make! All you need is some worsted weight cotton yarn, a crochet hook (The pattern calls for a size G, I used a size I, since I know that I crochet much tighter than most folks do,) a tapestry needle, and a pair of scissors. Don't be afraid to use a larger hook or add some extra lines if you crochet tighter than most folks, or if you are trying to accommodate a larger bar of soap. I often find skeins of cotton yarn at the thrift shop, but they are very easy to find in stores as well. Any craft store will carry cotton yarn, and you can find it in the craft departments of stores like Wal-Mart or Ace Hardware for a few dollars a skein.
A local group made cards like these and delivered them to the residents at the nursing home where I work. I liked the idea so much, I decided to make some of my own! You can make a whole lot of cards for just a little bit of money. I bought the supplies I didn't already have for around $11 at Wal-mart. 25 half-fold cards cost about $8, 130 buttons cost about $2, and a bottle of glue was around 75 cents. I already had some leftover sequins, a few permanent
markers, and a ruler on hand.
First, draw a few vertical lines starting at the top of the card. You can decide how far down, how many, or how far apart yourself. I decided that four looked good, and gave them random heights.
Once your lines are drawn, draw a small rectangle at the end of each. This will be where your button ornaments "attach" to their "hangers."
Using a small amount of white glue, glue each button to the "hangers" you've drawn. Make sure that the button overlaps the rectangle you drew just a tiny bit.
Make your "Merry Christmas," "Happy Holidays," "Season's Greetings" or whatever message you would like along the bottom of the card, under the "ornaments."
You can also write a message, or the second part to the message you started on the front, inside the card.
Once I wrote my message on my card I decided that it needed a little zazz, so I glued a few sequins onto the front at random intervals.
I haven't sent Christmas cards out for a number of years, but I decided to send them out this year. This is a fun project to do with kids to send to their friends, family, or to some sort of charitable organization. Nursing homes, children's hospitals, homeless shelters, or homes for those with disabilities are all good places to send your homemade cards. Those folks will really appreciate the time, effort, and thoughtfulness of your project.
 When Willie went over to Dan the Goat Man's house to get Shaggy and Ronnie, there was this itty bitty, teeny tiny little newborn goat that he got to hold. He thought it was the cutest little critter ever. Whenever it would drink milk from its mother it would stop every few gulps and holler with satisfaction, as though that milk were the best thing that had ever happened in the history of forever. This was when he first met Dani. We got Shaggy and Ronnie in October, and when springtime rolled around we had a little extra cash from taxes. Naturally, we decided to head over to Dan's house to find a new friend. Ronnie would have her kids soon, and we didn't want Shaggy to get lonesome while she took care of them.


