Thursday, January 28, 2016

Mouse Ears Purse

I came across this idea on Pinterest and decided I had to give it a try! Since I have two nieces under the age of five, it seemed like the ideal gift for Christmas this last year. And, since my crochet skills are somewhat limited, especially when working from a written pattern, I was relieved to discover that this pattern was very simple and easy to follow. Since the writer of the pattern has asked that the pattern not be copied outside her website, I decided to write a blog post just to show you the basics of what is involved in the project. If you're anything like me, you'll want to know what you are in for before you start the project. A link to the written pattern will be provided at the bottom of the page.


First, the things you will need to acquire are black yarn, and a contrast color for the edging, bow, and strap. Pink or red are more traditional Minnie Mouse colors, but you can use whatever color the little girl you're making it for might like. I used a seafoam green for one, and mauve for the other. You will also need a size "G" and a size "H" crochet hook, a yarn needle, and scissors. The stitches you will need to know are: chain, slip stitch, half-double crochet, and double crochet. If you need any help with these basic stitches, you can visit my Basic Crochet Stitches blog post. You will also be using a magic circle, but there is a video for that on the pattern website.

You will make two large circles for the head, and four smaller partial circles for the ears. Once you stick them together you can use your contrast color for edging, and then to make a bow and strap.

Once you have all your pieces made, you just have to sew them all together, leaving the opening at the top to make the purse. Simple enough, right? I thought so! It only took a few hours for each purse, and I think the results are super cute! Now, if this is a project  you would like to undertake, you can find the pattern here: Crochet Minnie Mouse Purse.


Thursday, January 21, 2016

Save Your Pennies : Cheap and Easy Meals

A delicious Southern-style meal.
I read some statistics the other day that said average Americans spend about $15 a day on eating out, and could save up enough money to go on a vacation in just a few months by cooking at home. Although I'm not sure how accurate this statement is, it does make me think about how many of my friends and co-workers go out to eat on a regular basis, and how much money they could be saving by just keeping a well stocked fridge and having some easy recipes. I've already covered a similar topic: Packing a Lunch, but I wanted to elaborate a bit on the importance of saving money where you can.


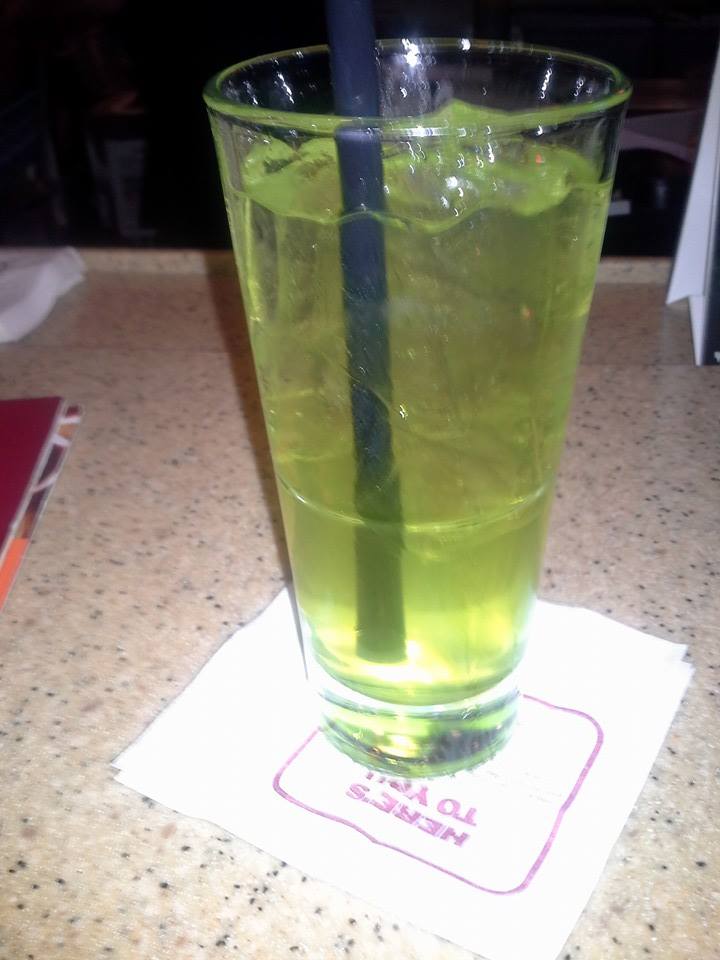
A tasty mixed drink.
For a real world example, I work for a national chain restaurant. The average cost per plate is around $13, and kids meals are between $4-5. Non-alcoholic drinks are about $2.25, beer costs between $3.00 and $6.75 depending on size and brand, and shots and mixed drinks can cost anywhere between $5.00-$9.00. My hypothetical family for this example consists of five people: dad, mom, and three kids. Dad orders a tall beer ($5.50) and a burger ($10.) Mom gets a strawberry daiquiri ($6) and a pasta dish ($11.) The two older kids get bigger kids meals ($5 each) and the youngest gets a smaller kids meal ($4.) That comes out to be over $46 dollars before tax and tip, and without ordering an appetizer or dessert. It's pretty easy to cook burgers and pasta at home, and the items on kids meals are typically easy to prepare at home as well (mac & cheese, cheeseburgers, chicken fingers, etc.) Even at a fast food establishment you could spend $30 to feed 5 people. Imagine how much food you could make at home if you spent that money at the grocery store instead of at a restaurant.

Willie's Super Secret Cheater Ribs
So, where can you find cheap and easy recipes and meal ideas? Well, here, of course!

From the Kitchen 


My collection of "back of the package" recipes.


You can also check the back of boxes, bottles, cans and containers of food in your pantry! There are a lot of great recipe ideas to be found on the labels of food, and typically they are pretty inexpensive to make. Some of the best recipes come from the labels for baking ingredients (such as baking powder,) condensed soups, canned tomatoes, and pasta. Having free recipes to make baked goods, pasta, soups, casseroles, and side dishes using items you may already have on hand is great!

Chicken Rice-a-Roni with chicken breast, broccoli & cheese.
In addition to recipes there are "make it a meal" instructions on the back of side dishes like Rice-a-Roni or Pasta-Roni, and "stir in ideas" for livening up meal kits such as Hamburger Helper.
I really like these ideas. The "make it a meal" option allows you to add meat to your rice or pasta, and tells you how to adjust the ingredients and cook times to accommodate. It also suggests a stir-in or topping idea to round it all out.


Crunchy Taco Hamburger Helper with corn & hot sauce.
When I was growing up we ate Hamburger Helper quite often. It was one of my dad's go-to suggestion for what to eat for dinner. I hated it. Now, as an adult, it, and likewise Chicken Helper, is something we cook at our house fairly frequently. The difference? We use the suggestions from the "stir-in ideas" list, or we test out our own stir-ins and toppings. How you season the meat you are using also plays a role in keeping it interesting.


Chicken Patty Parmesan with hotdog bun garlic toast.
Last but not least, look in your pantry and your freezer to see what you have. Use your imagination! See what you can build! Use chicken patties to make Chicken Parmesan, English muffins, canned biscuits or pita bread to make pizzas, leftover chicken, turkey or roast beef to make "shit on a shingle" or shred it up to make tacos. There's all kinds of stuff you can make just by using what's in your house already!

Thursday, January 14, 2016

Drying Fruit

A while back I had purchased some fruit to pack in my lunches throughout the week. Like I typically do, I bought way more fruit than my household of two is able to eat before it goes bad. Rather than letting it rot and throwing it away, I decided I would try my hand at drying fruit. So, here's how I did it!

First I undertook the strawberries, and rinsed them thoroughly. I gathered together a cutting board and a paring knife.

Using the paring knife I hulled the strawberries. You don't want to cut the whole top off of it, or you will lose a lot of fruit. Instead, use the tip of the paring knife to cut out just the white part around and below the stem (it's called a hull.) You can also buy a tool to hull strawberries and tomatoes with. It looks like a miniature melon baller with serrated edges.

Now that your strawberries are hulled, you can begin slicing them. Slice them fairly thin, 1/4" or so, and try to slice them evenly and uniformly as possible. This will allow them all to dry at the same rate.


Lay them out on your dehydrator racks evenly, taking care to separate them.


I put the lid on the strawberries and moved on to my next fruit to be dried.


Next on the agenda was my apples. They had been placed a little too close to the freezer, and had frozen, so I didn't suppose they would be any good for eating.


First I set up a bowl with some Fruit-Fresh. This will prevent oxidization (turning brown.) If you prefer, you can also use dilute lemon juice or apple cider vinegar, salt water, or lemon lime soda for this. There's all sorts of good ideas at theyummylife.com.


You can peel your apples if you would like, but I opted to keep my skins on. Since I don't have an apple corer, I just cut the fruit away from the core with a sharp knife. If you like gambling, save your seeds to sprout and plant. It's a big gamble to grow an apple tree from seed since you never know what kind of apple your tree will grow.


I cut my apples into slices about 1/2" thick. Be sure that they are of a relatively uniform thickness so that they will all dry evenly.


Next they took a dip in the anti-oxidization bath. I let mine soak around for 10 minutes or so while I did other things in the kitchen.


Drain your slices in a strainer or colander, and rinse them if necessary (if you used the saltwater method, for example.) Shake them around a bit so the water drains away if you need to.


Arrange your apples evenly on your drying racks. Make sure that there is enough room between them that the heat can circulate.


I added my apple racks onto my food dehydrator with my strawberries. I decided to start the apples on the bottom so that they would be closest to the heat and dry faster. Every few hours try to check on your fruit and rearrange the racks so that everything gets enough exposure to the heat and can dry thoroughly. I don't recall exactly how much time my fruit took to dry, so you may just have to wing it! That's what I did when I dried mine!


At the time that I am finishing writing this post (I'm a HUGE procrastinator!) it has been about 3 or 4 months. My dried fruits still look amazing, and we've actually used the dried apples in a recipe. They worked better than the store-bought ones for our Pork Wellington. I simply stored them in canning jars with plastic lids. If you really want them to last, though, you could use a FoodSaver to seal canning lids on them. Since it is a vacuum, there's no air inside to make them stale.

Thursday, January 7, 2016

Pizza Sauce


Don't let the extensive ingredients list intimidate you. This is a recipe we use all the time at my house, and it is well worth it! Please take a moment to visit the original and give it a 5 star rating!

Recipe:
1 (6oz) can of tomato paste
6 oz warm water (just fill your empty tomato paste can)
3 Tbsp grated Parmesan cheese
3 or 4 cloves minced garlic
1 Tbsp honey
3/4 tsp onion powder
1/4 tsp oregano
1/4 tsp basil
1/4 tsp marjoram
1/4 tsp ground black pepper
1/8 tsp red pepper flakes
1/8 tsp cayenne pepper
salt to taste

First place your tomato paste into a medium sized bowl, preferably one with a lid. Fill the empty can with warm water and add it to the tomato paste.


Measure out and add your Parmesan cheese and honey. If you have a plunger measuring cup, it really comes in handy for measuring out the honey!


Next, add in all the herbs and spices. I know there's a lot, but it will be worth it!


Whisk the ingredients together, cover and let it sit for 30 minutes. Use it for traditional pizza, pita pizza, biscuit pizza, tortilla pizza, English muffin pizza, whatever kind of pizza you have the stuff to make! Just be sure to use up all your sauce within a few days of making it, as it doesn't hold up well in the fridge for too long.