Thursday, December 31, 2015

Things to Save or Find for Crafts and Projects


Egg Cartons

Eggs (Duh!)

Milk Cartons


Yogurt Tubs


Broken Jewelry

Beads
2d Christmas Tree


Dryer Lint


Old Candles


Jeans

Emergency Water Filter
Denim Quilt
Braided Denim Rug

Broken Crayons

Crayon Candles
Wax Paper Stained Glass

Bandannas

Bandanna Quilt
Bandanna Babies

Sheets

Flat Sheet Quilt
Rag Rug

Pillow Cases

Rag Rug
Pillow Case Dresses

Bleach Bottles


Scrap Yarn

Scrap Yarn Rug
Scrap Yarn Afghans
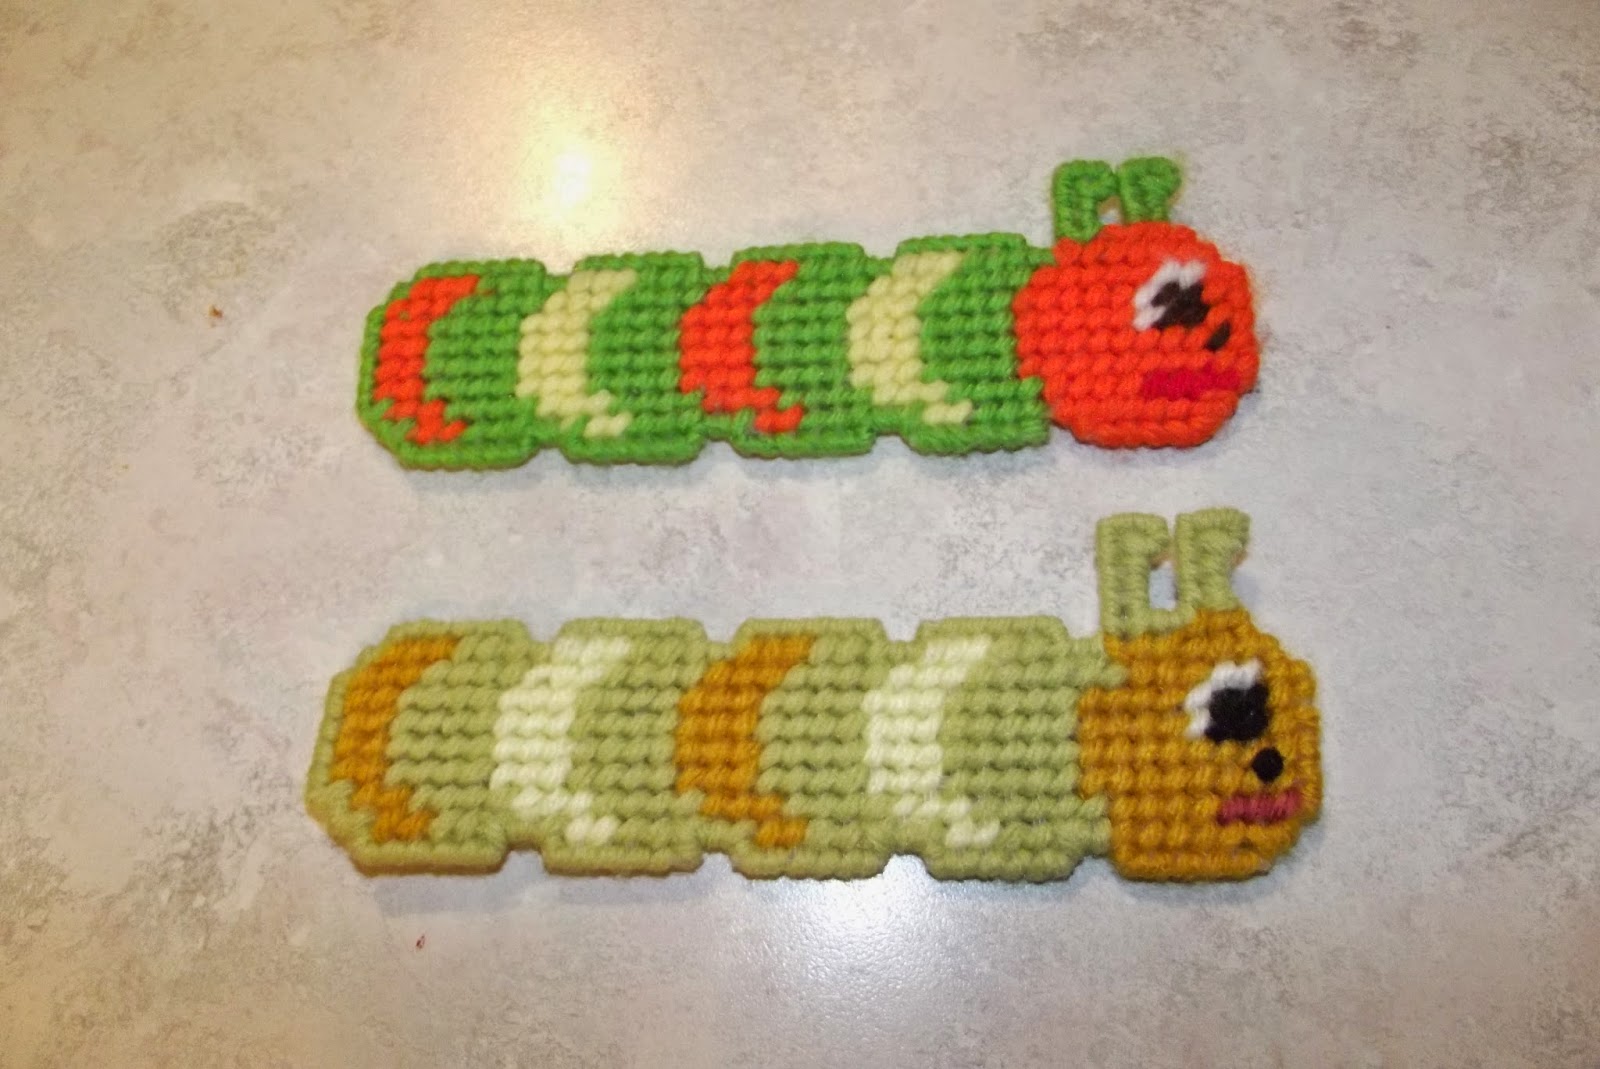
Crochet Birds and Baubles
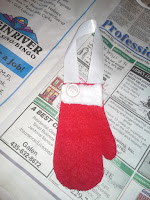
Plastic Canvas Mitten Ornaments

Plastic Grocery Bags

Grocery Bag Shopping Bag
Trash Can Liners

Felt

Felt Potpourri Sachet Ornaments

Newspaper

Paper Beads
Charcoal Starting
Pinatas
Paper Mache
Seed Paper

Magazines

Paper Beads
Framed Photos

Wire Hangers

Underwear Hanger

Picture Frames

Pressed Flower Art
Children's Book Framed Prints
Family Tree Wall Hanging

Rocks

Painted Rock Cactus Garden
Painted Rock Tombstones

Nuts

Walnut Strawberry Ornament

Kids' Books

Children's Book Framed Prints

Cinder Blocks

Cinder Block Book Shelf

Drink Bottles


Scrapbook Paper

Paper Beads

Teacups

Teacup Flower Arrangements

Paper Towel and Toilet Paper Tubes


Towels

Bath Mitts

Seashells


Scrap Fabric

Rag Rugs
Scrap Fabric Heart Gift Cards

Buttons


Greeting Cards

Thursday, December 24, 2015

Recycled Crayon Christmas Bulbs


I've had a box of clear Christmas bulbs floating around my craft room for years, just waiting for me to figure out what to do with them. In years past I used acrylic paint to make swirling designs inside my clear bulbs, but it is very time consuming, messy, and takes up a lot of space in my kitchen for far too long. A while back I read about an idea where you use old crayons to do much the same thing, using a hair dryer to melt the wax. I decided to give it a shot!


I already had a bunch of old crayons that I had been collecting for my "Crayon Candles" blog post. After becoming somewhat frustrated with the candle idea, I had put it on the back burner for a while. This means that I had plenty of crayons to choose from!
So, when you are making your Christmas bulbs, choose 4 colors for each bulb. Unwrap the 4 crayons and cut some small chunks off.
The chunks you cut should be about the size of a pencil eraser.
Here are the combos I chose for my bulbs. Please note that there is a fourth bulb, my tester!
Once you've got the four little nubbins of wax in your bulb, bust out the hairdryer and set about melting! The bulbs will get fairly hot, so unless your hands are made of asbestos, you will need some kind of protection. I used a pair of cotton gloves I found in the makeup/manicure section of my local super store, and those worked just fine for me!


Keep heating and swirling until the entire interior of the bulb has been coated, then turn it upside down and allow the excess wax to drip out.


Here are the four bulbs that I made. You may notice that the green bulb is not quite up to par.


I discovered with this green bulb that mixing wax from different brands of crayons just doesn't work out. Don't do it, mmmkay?


Once my bulbs were cooled and the hangers replaced, I used correspondingly colored ribbon to make hanging loops. I think they're super cute!


Tuesday, December 22, 2015

Felt Mitten Ornament

I was going through some of my craft stuff, and I came across my stash of felt. It reminded me of a felt mitten Christmas ornament I had seen in one of the rooms at the nursing home where I work. I decided to make a felt mitten ornament of my own!
First I fashioned a mitten pattern out of some scrap paper.
Next I cut two matching mitten shapes out of felt.
I cut some scraps of quilt batting to use as edging on the wrists, and glued them into place. You could also use cotton balls for this, or some scraps of ribbon or felt. White glue or craft glue should work fine for this portion, just let it dry thoroughly.
Next, apply glue to the wrist portion of the wrong side of one of your mitten shapes. I know it shows white glue in the photo, but, believe me, hot glue will work best. Stick some ribbon, thread, string, yarn, or pipe cleaners to the wrist to act as your hanger. Now you can apply glue to the edges and stick your two mitten halves together.
Allow the glue to dry and cool, an then you can add some decoration if you would like.
I just added a button on the wrist of this mitten, but you could use all sorts of things to decorate. Glitter glue, fancy stitches with embroidery floss, sequins, ribbon, rick rack... the sky's the limit! Have fun and happy crafting!


Thursday, December 17, 2015

Brazil Nut Reindeer Ornament

I remember having a few of these little fellows on our Christmas tree growing up. While I was making some Christmas tree ornaments for my sister I happened upon some leftover Brazil nuts I had been saving for making reindeer, so I figured that I'd better get to it!


So, for every Brazil nut you intend to use you will need two eyeballs, a short length of ribbon to use as a hanger, a small pompom for a nose, and half a chenille stem (tan works best, but white would be fine as well.) You will also need a hot glue gun and glue sticks to put it all together.


First cut your chenille stems in half. Each half will be a set of antlers for a reindeer.Fold your section of chenille stem in half, then use that fold to make a"w" shape. Fold the long bits into a zigzag formation, taking care that the two sides match. The "w" will sit on the reindeer's head.


The Brazil nut has three sides to it. The bottom is narrow, and the two sides are wide. The two sides come together at the top in a fairly sharp ridge. This ridge is where your antlers will sit. The back is fairly rounded, while the front is pointed where the three sides join up. The point at the front is where you will glue your pompom nose. You can use black, dark brown, or red for the nose. I used one black and one red. 


Next glue your eyeballs on. One on either side of the head. Make sure that they are symmetrical.

Now you can glue the antlers on. The "w" should sit on the ridge at the top of the nut. 

Just behind the antlers is where you should attach your ribbon hanger. Tie a knot or a bow at the top to close it off. 


Once your glue has set you will have some cute little reindeer eyeballing you from your Christmas tree! I love these little guys. It's a really neat use for your leftover holiday nuts. 

Tuesday, December 15, 2015

Recycled Christmas Card Gift Boxes

If you are like me, you feel bad about throwing your Christmas cards out after the holidays have passed. I used to save my cards in my boxes of Christmas decorations, but I never knew what to do with them, so they would sit there for a year or two, then go in the trash. I had heard that you could make gift boxes by recycling your old greeting cards, so I searched out some instructions. The best tutorial I could find was on about.com: How to Make a Box Out of a Card.

So, first things first, you will need to gather together your supplies. You will need a ruler, a pencil or pen, a sharp pair of scissors, some scotch tape, and your old greeting cards.


Cut the card in half, mark, cut and fold according to the instructions. After your initial box is made and you have learned the formula, it should only take about 15 minutes to make a box.


The resulting box will be big enough to give small gifts such as jewelry, hair barrettes or money.


I made several to show how cute they are! Keep in mind that you can use any kind of greeting card for this project. Thank you cards, birthday, Mother's Day, whatever you want! Just make sure that the main design is in the middle of the card, and there aren't too many words, and you're golden!


Thursday, December 10, 2015

Recycled Christmas Card Gift Tags


Last Christmas I received several Christmas cards, and the recycler in me just didn't see fit to throw them out. My sister-in-law suggested that I make some gift tags out of them, so I set about making some! Some cards I saved, some I decided weren't appropriate to make a tag out of, but there were a few that would work out great!


I cut out the bits that I thought would make cute tags, some were big, some were small, One of them I even made round!


After I had cut out all the cute pictures I could find, I glued them all onto a sheet of white paper, and stacked some books on top to squish them straight while they dried. I made a mistake, though. I used a glue stick.


Once my tags were dry, and I set about cutting the sheet of paper apart to separate them, the edges and corners started to pop up. Remember, folks, just because it sounds easier, doesn't mean it is! Just use some good old-fashioned white glue and an old paint brush, and you'll be set!


Once you've trimmed the paper flush with the tags, all that needs doing is to punch some holes.


A regular office-style hole punch will work fine, but if you have a fancy-shaped punch you'd like to use, that will work out too! Thread a string or a piece of ribbon through the hole and tie your tags onto your gifts!