


I came across this idea in one of my many craft books a while back and decided to make a simpler version. I found a couple of cute teacups at a local thrift shop, and used them to perfect my method before I wrote this post.
 So, the first thing you will need is your teacup and a piece of cute, coordinating fabric. A thrift shop cup and a remnant of fabric will do just fine! In addition, you will need a ruler or tape measure, a rotary cutter or scissors, a needle and thread, a hot glue gun, and some poly-fill..
 Measure across the top of your teacup. You will need to cut out a circle of fabric that is about three inches larger in all directions.
 If you have a rotary cutter and mat, it will make this project a lot easier!
Find an object that fits the measurement of the circle you need for your cushion, and use it as a guide for your rotary cutter. Or, if you don't have a rotary cutter, you can use this to trace a circle onto the wrong side of your fabric, and cut it out with scissors.

Now that you have your circle cut out (it doesn't have to be perfect, just circular) you will need to locate a needle and thread. Thread your needle and make the tail the same length as the string so that you have a double strand to sew with. If you don't do this, the thread may break when you try to draw your cushion tight, and you'll have to start all over again.

Use your needle and thread to baste around the edge of the fabric. Basting just means you're poking your needle in and out, back and forth, through the fabric.

Once you have basted all the way around the outside, you should be able to pull your two ends like a drawstring and form a purse shape.

Use some poly-fill to stuff your cushion. Stuff it as tightly as you can. Once it's all stuffed with fluff, draw your strings and tie them tightly to hold your cushion closed. Trim off the tails, allowing about an inch so that your knots don't come undone.

Stuff your cushion into your teacup, move it around, arrange it so that it looks just right. You might have to pull it out and try again a few times.

Once you like the appearance of your pincushion, plug in your hot glue gun and let it get hot.
 Poke your finger down the edge of the pincushion and move it away from the side of the cup. Place a good dallop of hot glue down there, and repeat all around the cushion, making sure that you stick the cushion back to the side of the teacup where it should be.
That's it! Put some pins in it, you're done!

*Update*
I've learned a couple of new tricks to make cute pincushions!

First, an easier way to cut out a circle: Measure and cut an appropriately sized square of fabric (remember to measure across the top of your teacup and add 6 inches.)

Fold the square into quarters, and cut the open corner into a curve from corner to corner.

When you unfold it, you should have a neat little circle.
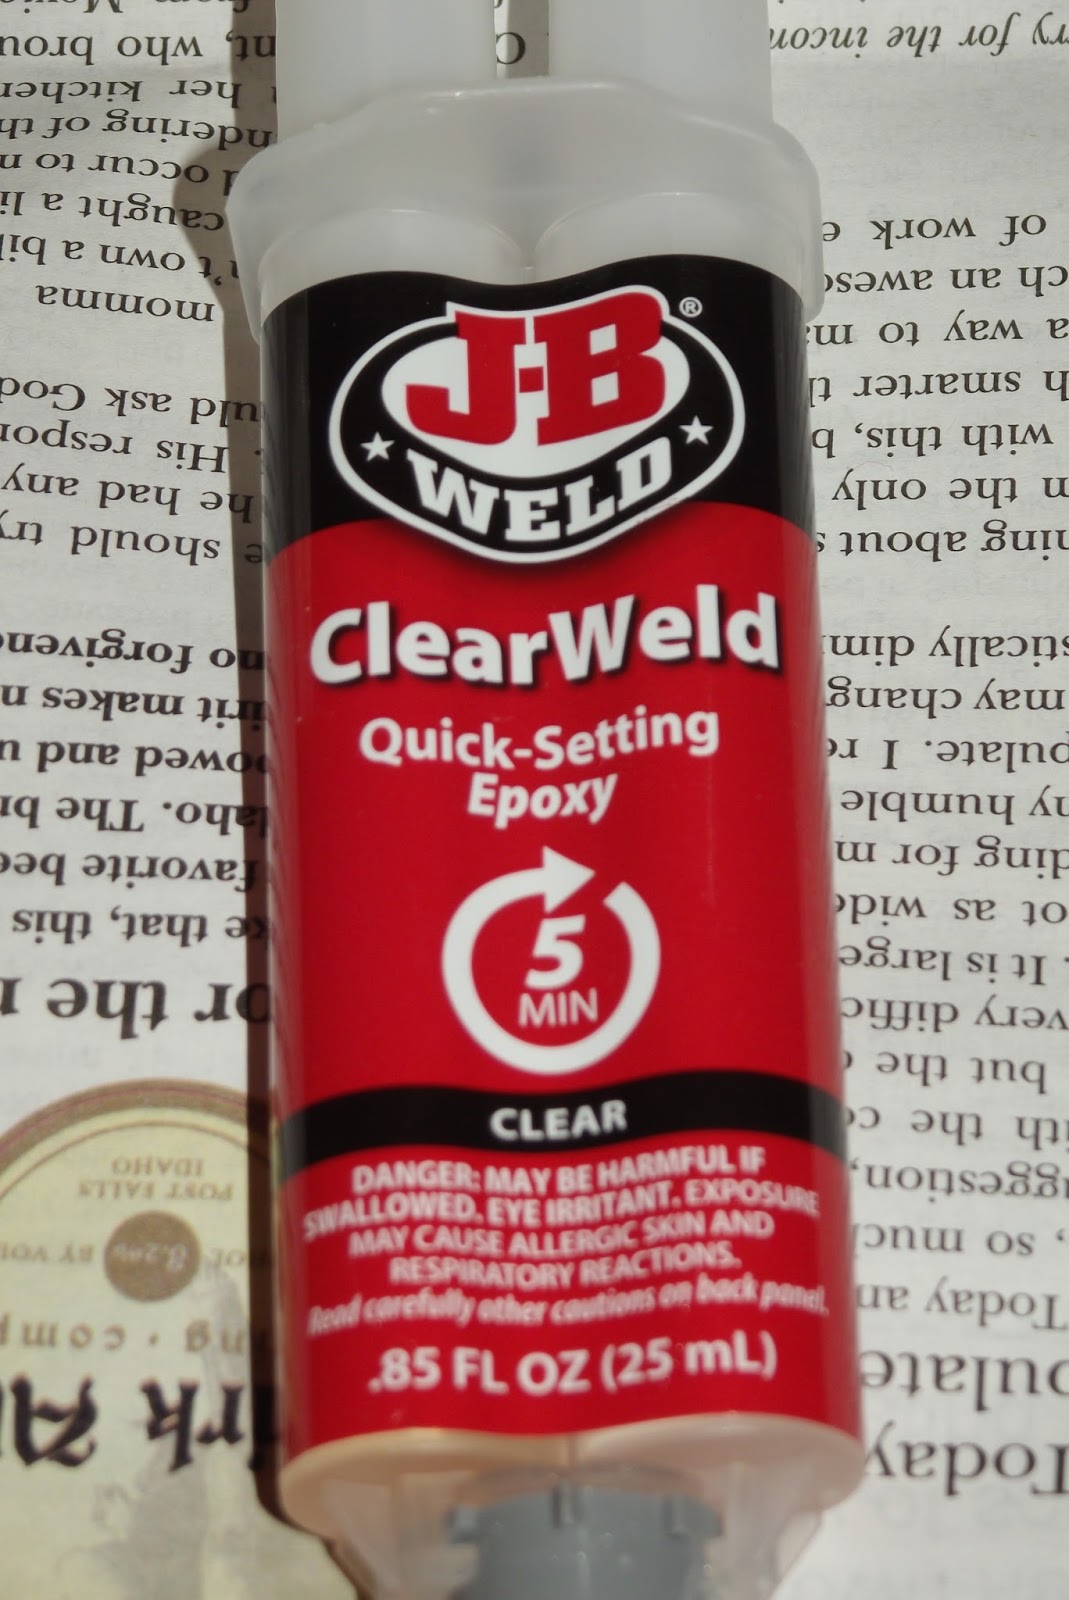
Next, if you find a cup and saucer set, here's how to stick them together: You will need an epoxy that will work for glass and ceramic (it will say so on the label) and will dry clear.

Turn your teacup over, and apply the epoxy in the indentation on the bottom of the cup. Make sure there's a good amount. Since the two components of the epoxy must be mixed, this little indentation makes a great work bowl. Use a popsicle stick, chopstick or any other disposable item you have ready at hand to mix the epoxy together thoroughly.
 Place the saucer over top (or bottom, as it were) of the cup and invert both together. Take a moment to make sure your cup is centered on the saucer, then leave it to cure. The puddle of epoxy will drip down from the cup and run out to the edges, sealing the two together. That's why a goodly pile is needed.
 Resist the urge to touch it, I know you're excited but the epoxy has to cure before you move it around!


No comments:
Post a Comment