Yum yum yum! Just yum! I love hobo dinners because they are easy, tasty, and highly customizable. You can make hobo dinners, hobo side dishes, hobo breakfasts, even hobo desserts! When I was growing up we made these en masse for family get togethers. I decided to make one today, and show you what it's all about! First, cut a large sheet of aluminum foil and spray it with some non-stick spray or olive oil. Next, add your vegetation.
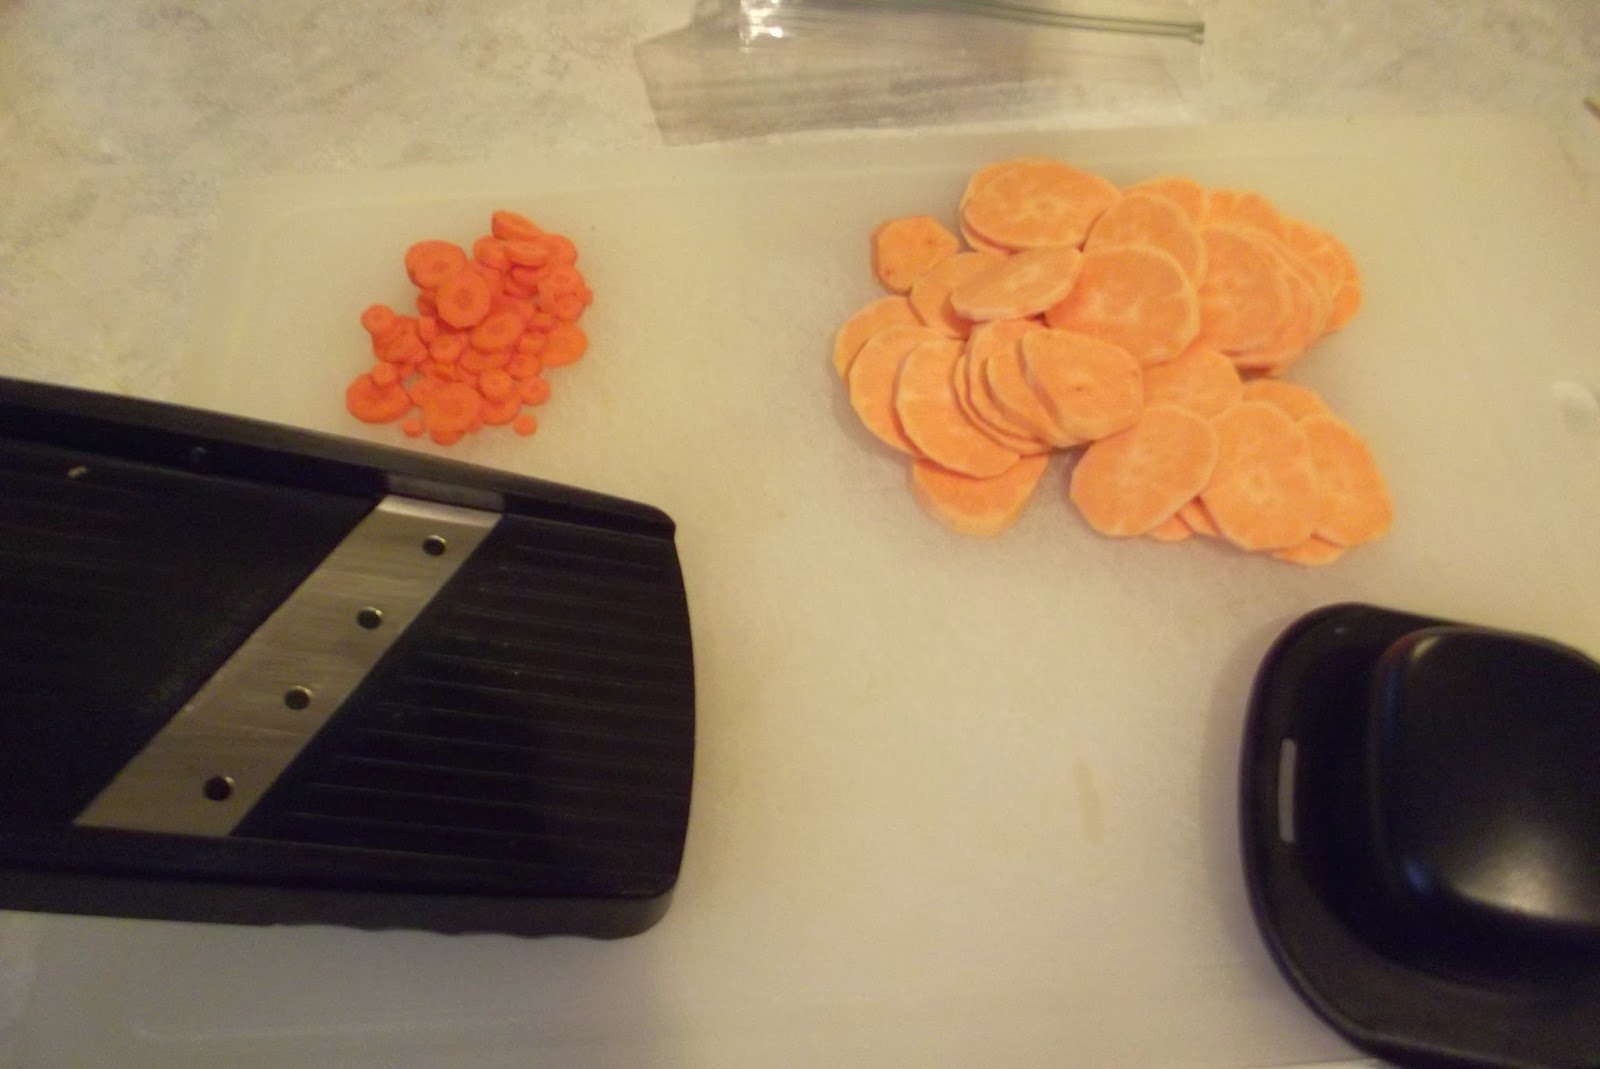
 I think that some kind of potatoes should always be included, but I am pretty well infatuated with potatoes to a level that is no longer healthy. This time all I had was one little sweet potato. So, a good amount of sliced potatoes to make a base, then some sliced carrots because they are delicious, some frozen peas, and a little frozen minced onion. Other tasty veggies to put in are green beans, summer squash, garlic, diced tomatoes, or asparagus. Just so happened that all I had on hand were peas and carrots.
  Season these up and prepare for the meat layer. I decided to go the cheater route with my seasoning. I used some garlic herb soup mix and black pepper. Any kind of soup mix will do, or you can just season with your favorite herbs and spices. You can use whatever kind of meat you desire, but hamburger patties and boneless chicken breasts seem to work out best. This time, I decided on a burger.


Unwrap carefully when checking for doneness, as you may need to rewrap and continue cooking. If using a fresh burger or a chicken breast, it may not take quite this long to cook. I would say check it after 30 minutes. Now, while mine is cooking I should probably wash some dishes so I have a means of conveying food to my face...

Please note that this recipe can be adapted for use on a barbecue grill, or near the coals of your campfire. It can also be made up ahead of time and stored in the refrigerator until ready to cook.