Thursday, April 9, 2015

How to Brine a Bird

At the time that this post was put together we had just brined some turkey birds for our uh-maze-ing Thanksgiving dinner. The good thing about this simple brine recipe is that you can use it on any type of poultry that you intend to roast, smoke, or deep fry. We put one of our birds in the oven for a more traditional Turkey-day Turkey, and put the other out on the smoker for a little bit of a different flavor.  We have also brined chicken and roasted it in the oven, or made beer can chicken with it, and we have deep fried a turkey brined with this recipe as well. The recipe for this brine comes from Alton Brown's recipe for deep fried turkey, and if you've never deep fried a bird, I suggest you do so. (Cautiously, so as not to burn yourself, your loved ones, or your dwelling.)

Start your brining process by selecting a clean cooler of an appropriate size, and line it with a plastic trash bag. The bag will keep whatever still may be lurking in the cooler from reaching your poultry, as well as keep your poultry juices from contaminating the cooler.

Following Alton's recipe, measure out your salt. Be sure you weigh out your dry goods, but especially your salt. If you don't have kosher salt, which the recipe calls for, you can use another type of salt (pickling salt, for instance) as long as it weighs the same. If you measure these two types of salt out with a measuring cup, you will end up with completely different amounts because the crystal sizes are different.
 After the salt is weighed and added to the bag, add your brown sugar. Since our brown sugar was already weighed out, we didn't need to put it on the scale.
 Next, add the hot water to the bag. The water should be hot so that it will more easily dissolve the salt and sugar crystals. Cold water makes it more difficult to dissolve.
 Allow your mixture to cool down for a while, at least until it reaches room temperature, then add the ice.
 All that's left now is to add your birds. Here's the early bird. (See what I did there?)
 Now our two birds are all nestled in like two peas in a pod. They will soak overnight in their briny bed, and tomorrow they will do delicious things.
If you, like us, do not care for the extra bits you find in the cavity of your bird, simply put them in a pot, boil them up, and feed them to your backyard birds. Our chickens and ducks munched on these with gusto, then helped us dispose of the carcasses after we carved them up. It was a good Thanksgiving for them as well!

Thursday, April 2, 2015

Hedgehog Blankets


We had an old towel that had a few holes in it. While as a whole it was not much good to us humans, the spaces in between the holes might be useful to a smaller creature. Say, a hedgehog? We usually buy cheap washcloths for her to use for blankets, but recycled towel bits would work just as well, if not better!


I got my scissors out and began snipping out the holes, and cutting a people-sized towel into hedgehog-sized blankets.


Of course, I made a mess of fluff all over the place, nowhere more evident than on my sewing chair.


After the pieces were all trimmed up I set about sewing zig-zag stitching around all the edges. If you have a surger, that would be easy money, if not, just make your zig-zags as close to the edge as possible.


I ran a few blankies through the dryer to get rid of the excess fluffies, and tested them out. Gizmo the hedgehog seems to be pleased with the result. Don't be fooled by her grumpy-looking face in the first photo, she always looks grumpy... or evil... or surprised... She's a hedgehog, okay?

(Please note that these would also work very well as cleaning rags, but look at that face! How could I not give them to Gizmo?)


Sunday, March 29, 2015

Recycled Paper Easter Eggs

Here's a cute paper project to do with the kids for Easter this year! I saw one similar to this hanging on the door at the nursing facility where I work, and decided to go home and figure out how to do it! Mom gave me a bunch of scrapbook paper years ago, but I never really got into scrapbooking, so I've been trying to figure out cute projects to use some of it up. Here's one of them!
Here's what you need:
Paper (scrapbook paper, construction paper, old magazines, newspaper, etc)
A sheet of white paper
A pencil or marker
Scissors
Glue (white glue or glue stick, whichever is handy)
First, roughly draw an egg shape on your white sheet of paper. Doesn't have to be perfect. (Thank goodness! Look at how awful my egg shapes look! Bleh!) This will be the right side of your work.

Cut your colored paper into strips. I cut mine about 1/2" wide. If you wanted to, you could use fun scissors with zig zags or waves, or other cute patterns. (Especially if your paper is plain.)

Turn your work right side down, and begin gluing your strips to the wrong side. Since your strips are not likely to be completely straight, overlap them just a tiny bit.

Allow the glue to dry and turn your work right side up. Use the egg shapes you drew as a guide to cut your work into the shape of an egg. (You may need to adjust a bit as you cut, if your egg drawing skills are similar to mine.)
There you have it! Cute little stripey eggs for Easter!


Thursday, March 26, 2015

Easy Meals: Hobo Dinners

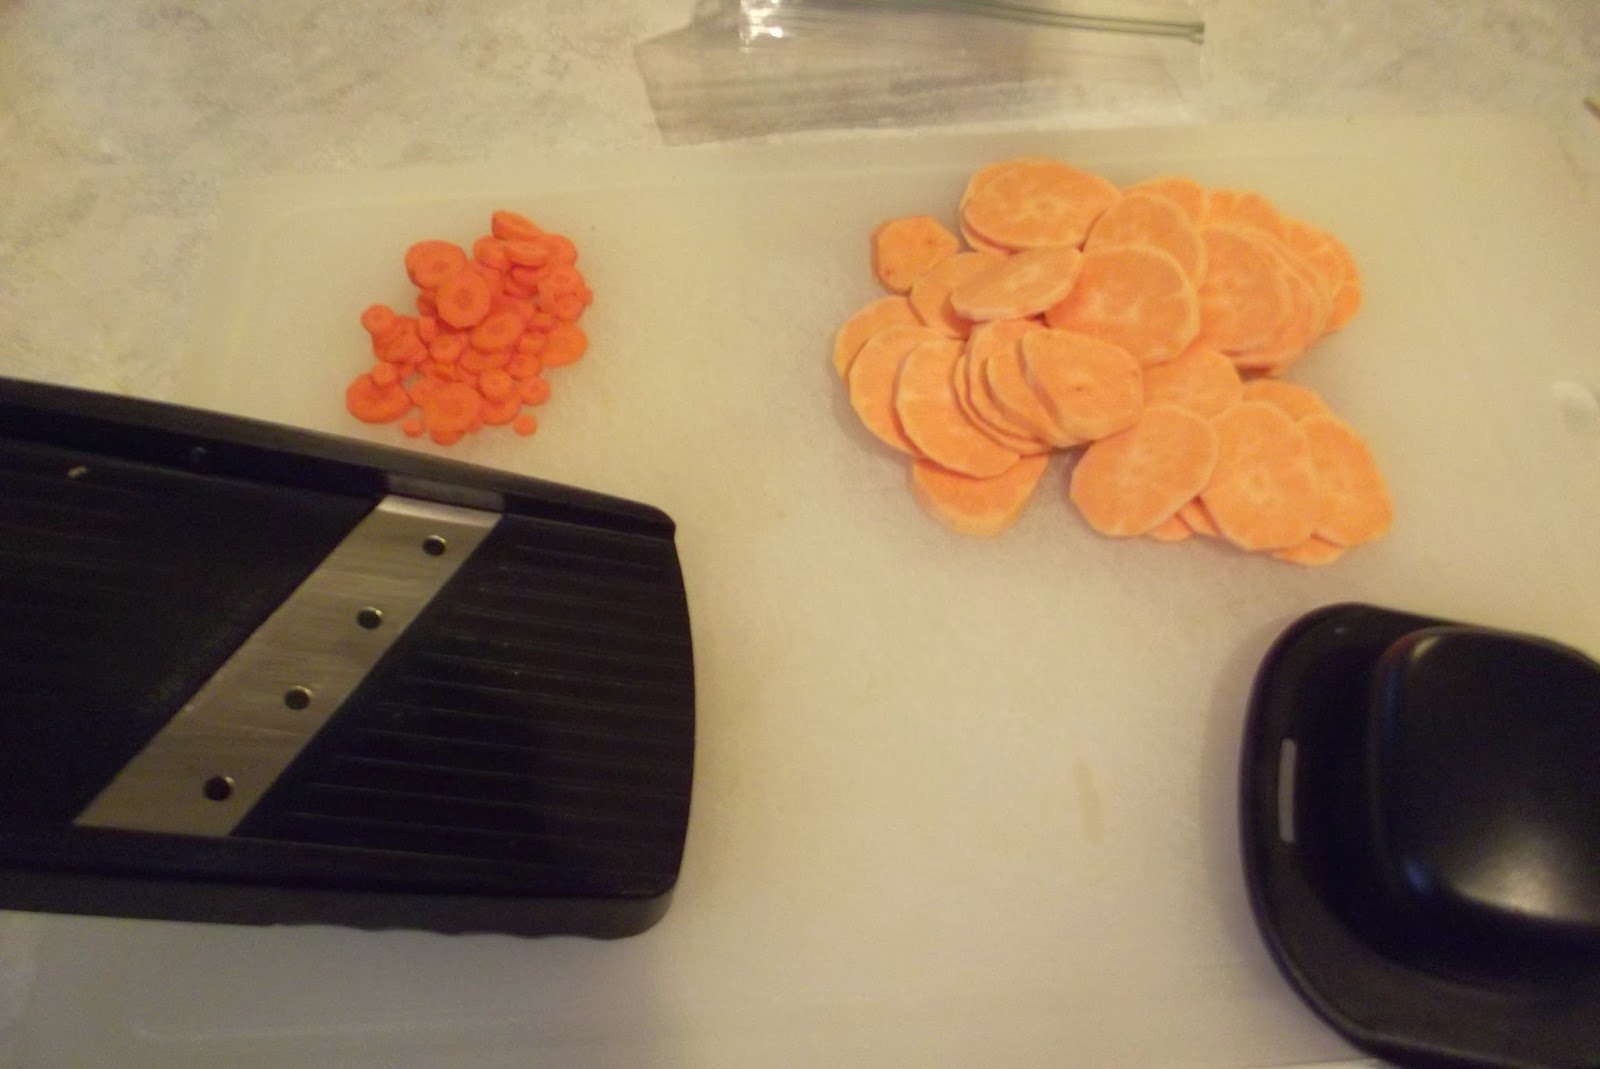
Yum yum yum! Just yum! I love hobo dinners because they are easy, tasty, and highly customizable. You can make hobo dinners, hobo side dishes, hobo breakfasts, even hobo desserts! When I was growing up we made these en masse for family get togethers. I decided to make one today, and show you what it's all about! First, cut a large sheet of aluminum foil and spray it with some non-stick spray or olive oil. Next, add your vegetation. 
I think that some kind of potatoes should always be included, but I am pretty well infatuated with potatoes to a level that is no longer healthy. This time all I had was one little sweet potato. So, a good amount of sliced potatoes to make a base, then some sliced carrots because they are delicious, some frozen peas, and a little frozen minced onion. Other tasty veggies to put in are green beans, summer squash, garlic, diced tomatoes, or asparagus. Just so happened that all I had on hand were peas and carrots. 
Season these up and prepare for the meat layer. I decided to go the cheater route with my seasoning. I used some garlic herb soup mix and black pepper. Any kind of soup mix will do, or you can just season with your favorite herbs and spices. You can use whatever kind of meat you desire, but hamburger patties and boneless chicken breasts seem to work out best. This time, I decided on a burger. 

Frozen or fresh, either will work. I had frozen, so that's what I used. Perch your meat on top of your veggie stack, and give that bad boy a dash of seasoning as well. Wrap up your little parcel tightly, and consider double wrapping for extra leak protection.


Place your foil pouch on a sheet pan and pop it in the oven at 450 degrees for about 40 minutes, or until the meat is cooked and the potatoes are tender.


Unwrap carefully when checking for doneness, as you may need to rewrap and continue cooking. If using a fresh burger or a chicken breast, it may not take quite this long to cook. I would say check it after 30 minutes. Now, while mine is cooking I should probably wash some dishes so I have a means of conveying food to my face...


Please note that this recipe can be adapted for use on a barbecue grill, or near the coals of your campfire. It can also be made up ahead of time and stored in the refrigerator until ready to cook.


Thursday, March 19, 2015

Seed Starting Experiment

Now that I've showed you how to build some containers to start your seeds in, I'll plant some seeds in them! I had popcorn, chickpeas and lentils in my pantry, mustard seed in the spice cabinet, black oil sunflower seeds in my grain bin, and mystery squash seeds from my mystery squash experiment.

Popcorn, sunflower seeds, chickpeas, lentils, mustard seed,
and my mystery squash seeds.

Mustard seeds on the left, lentils on the right.

Chickpeas in the yogurt tub.

Popcorn in the milk carton.

Black oil sunflower seeds in the pickle jar.

Mystery squash seeds in the coffee can.
After I planted all my little seeds, I gave them all drip trays, and put all the containers into a clear storage bin. We had one that our pet tortoise was living in, so it had a temperature and humidity gauge already installed. I put the bin in front of my sliding glass door, and put the drapes all the way around the back side of it, to make a little greenhouse.
Black oil sunflower seed sprouts
Chickpea sprout
Popcorn sprouts


Although I did not capture photographic evidence, I assure you that in addition to the above-shown sprouts, my mustard seed and lentils also sprouted. I forgot to take a photo of them when they popped up, and then we went deer hunting and I didn't water my plants before I left. Unfortunately, my mystery squash seeds never sprouted, so we will never know what sort of squash it originally was.

Thursday, March 12, 2015

Make It Yourself - Fruit Fly Trap

See the little fruit fly corpses? I'm evil.
So, I had some limes in my pantry that got shuffled to the back and forgotten about. Lo and behold, the little suckers hatched out a swarm of fruit flies! They infested my pantry, my compost bowl, and even made their way downstairs to Willie's computer room and started milling around an empty beer can on the desk. I hate fruit flies. They are awful. They are hard to get rid of once you have them, because they can go anywhere and infest anything. The first step to getting rid of these little fellas is to remove anything that they want to hang out near. Compost, old vegetation, garbage, dirty dishes, empty beer or soda cans. All of it has to go. Next, you need to lure the little nasties to their demise. A good, super simple way of doing this is with a vinegar trap. Find a small dish or cup, put a drop of dishwashing liquid in it, and add enough apple cider vinegar to drown a swarm of fruit flies. The cider vinegar will lure them in with its sweet-yet-pungent aroma, and the soap will break the surface tension of the vinegar. No surface tension means that when the fruit flies try to bob on the top of the vinegar to get a drink, they sink down into its depths and drown. Perhaps I like killing fruit flies too much. Perhaps I need counseling. Probably not, though. I just want a house free of tiny swarming insects.

Thursday, March 5, 2015

If You Can't Beat Them, Eat Them!


Another good title would have been "When Life Gives You Dandelions, Make Salad."
I'm sure that you have at least three dandelions in your yard at this very moment. (Unless you have chickens, goats, or ducks. They love to eat these greens!) But, perhaps you were unaware that these little nuisances were edible greenery, suitable for a salad. It's true! During the depression many a family dined on dandelion salad! Clara, of Great Depression Cooking with Clara has a wonderful video on harvesting, washing, and dressing a dandelion salad. She says it takes patience and time, but the results will be worth it. So, the next time you think about spraying weed killer on your dandelions, eat them instead! Click here to watch the video of Clara making dandelion salad.