Thursday, May 21, 2015

Teacup Pincushions


I came across this idea in one of my many craft books a while back and decided to make a simpler version. I found a couple of cute teacups at a local thrift shop, and used them to perfect my method before I wrote this post.


So, the first thing you will need is your teacup and a piece of cute, coordinating fabric. A thrift shop cup and a remnant of fabric will do just fine! In addition, you will need a ruler or tape measure, a rotary cutter or scissors, a needle and thread, a hot glue gun, and some poly-fill..


Measure across the top of your teacup. You will need to cut out a circle of fabric that is about three inches larger in all directions.


If you have a rotary cutter and mat, it will make this project a lot easier!

Find an object that fits the measurement of the circle you need for your cushion, and use it as a guide for your rotary cutter. Or, if you don't have a rotary cutter, you can use this to trace a circle onto the wrong side of your fabric, and cut it out with scissors.


Now that you have your circle cut out (it doesn't have to be perfect, just circular) you will need to locate a needle and thread. Thread your needle and make the tail the same length as the string so that you have a double strand to sew with. If you don't do this, the thread may break when you try to draw your cushion tight, and you'll have to start all over again.


Use your needle and thread to baste around the edge of the fabric. Basting just means you're poking your needle in and out, back and forth, through the fabric.


Once you have basted all the way around the outside, you should be able to pull your two ends like a drawstring and form a purse shape.


Use some poly-fill to stuff your cushion. Stuff it as tightly as you can. Once it's all stuffed with fluff, draw your strings and tie them tightly to hold your cushion closed. Trim off the tails, allowing about an inch so that your knots don't come undone.


Stuff your cushion into your teacup, move it around, arrange it so that it looks just right. You might have to pull it out and try again a few times.


Once you like the appearance of your pincushion, plug in your hot glue gun and let it get hot.

Poke your finger down the edge of the pincushion and move it away from the side of the cup. Place a good dallop of hot glue down there, and repeat all around the cushion, making sure that you stick the cushion back to the side of the teacup where it should be.

That's it! Put some pins in it, you're done!


*Update*


I've learned a couple of new tricks to make cute pincushions! 

First, an easier way to cut out a circle: Measure and cut an appropriately sized square of fabric (remember to measure across the top of your teacup and add 6 inches.) 
Fold the square into quarters, and cut the open corner into a curve from corner to corner.
When you unfold it, you should have a neat little circle.
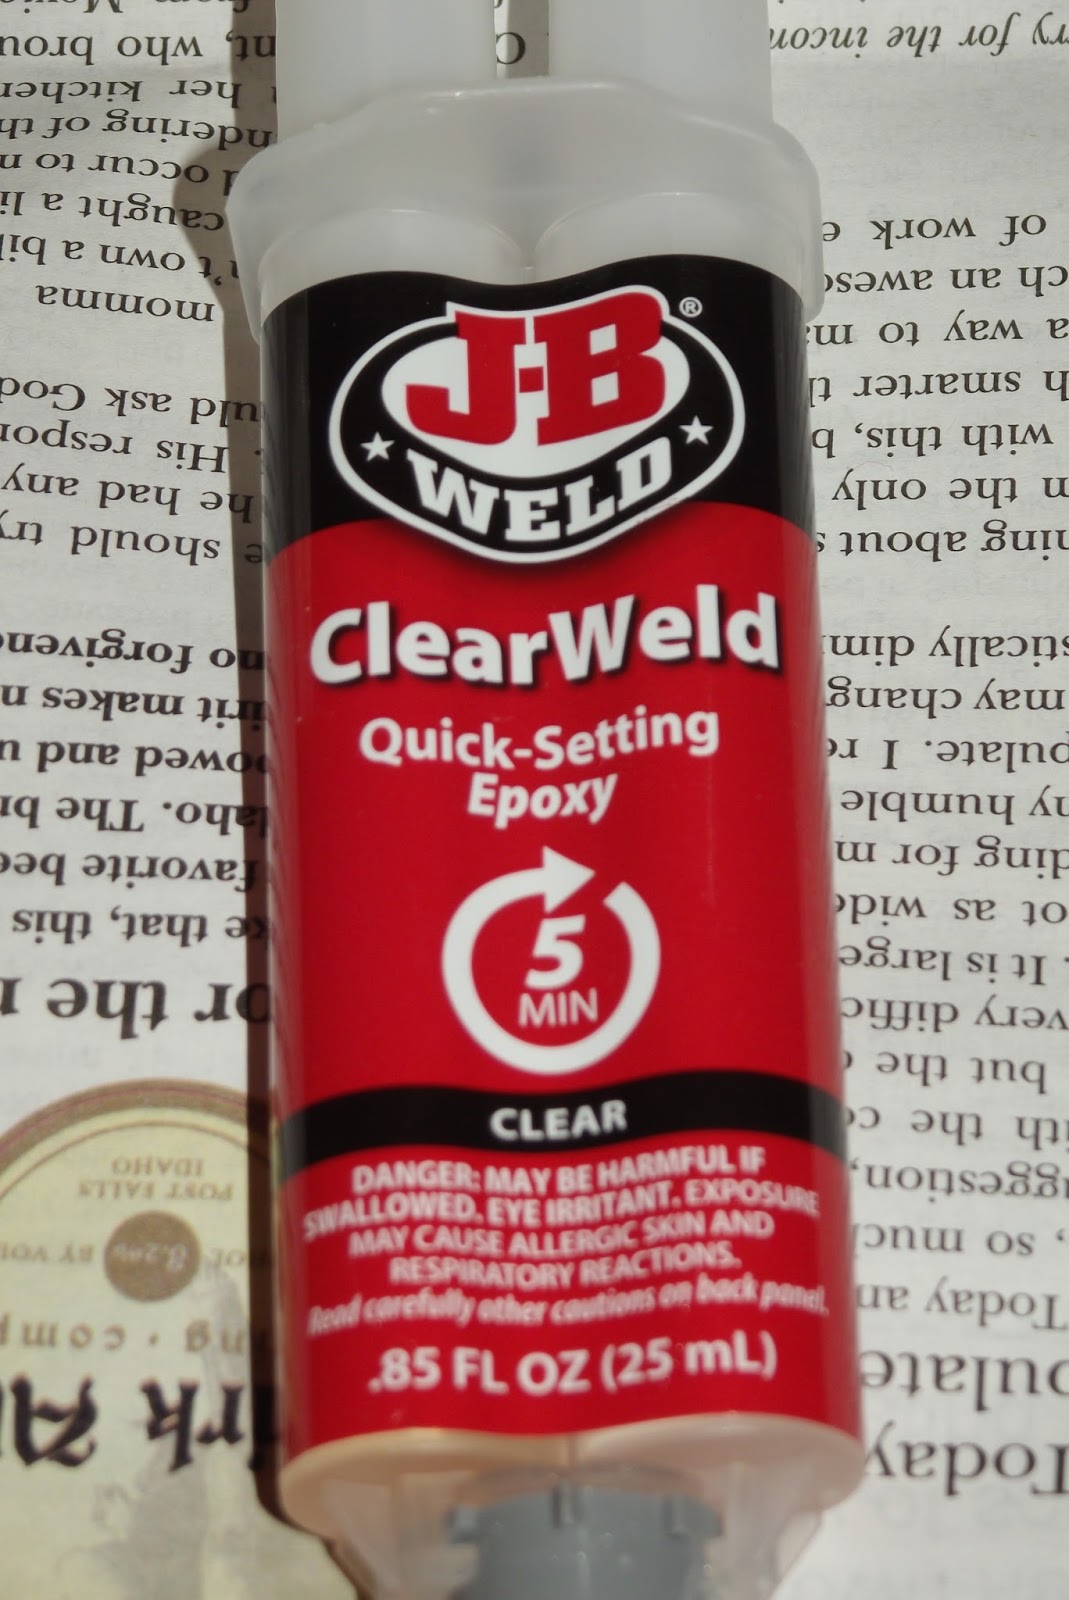
Next, if you find a cup and saucer set, here's how to stick them together: You will need an epoxy that will work for glass and ceramic (it will say so on the label) and will dry clear.
Turn your teacup over, and apply the epoxy in the indentation on the bottom of the cup. Make sure there's a good amount. Since the two components of the epoxy must be mixed, this little indentation makes a great work bowl. Use a popsicle stick, chopstick or any other disposable item you have ready at hand to mix the epoxy together thoroughly.
Place the saucer over top (or bottom, as it were) of the cup and invert both together. Take a moment to make sure your cup is centered on the saucer, then leave it to cure. The puddle of epoxy will drip down from the cup and run out to the edges, sealing the two together. That's why a goodly pile is needed.

Resist the urge to touch it, I know you're excited but the epoxy has to cure before you move it around!

Thursday, May 14, 2015

Food Storage: Canning Jars


Willie and I were going through our cabinets, trying to get everything organized, but it all looked so cluttered with so many different packages of dry goods and open, half-used ingredients. So, Willie had a brilliant idea: canning jars!


We bought half-gallon jars for the ingredients that we kept the most of, and then put the smaller amounts in quart- and pint-sized jars. All of our spices are also kept in pint-sized jars.


Rather than mess with traditional canning lids, we bought plastic storage caps.


For the items that we don't use as often, we found jar sealers that you can use with your Food Saver. You DO have a food saver, don't you?


Finally, to keep track of which thing is what, we used our label maker to label all of the jars. Brilliant!

Thursday, May 7, 2015

How to Clean Cast Iron

Once you've got a good piece of  cast iron cookware, you need to know how to take care of it. For a number of years I avoided using cast iron, because I thought that is was difficult to clean and maintain. Simply not the case! Here's what to do!
My potstickers lived up to their name.
First, if the food is dried on or will otherwise be difficult to scrub out, fill the pan with hot water and let it soak until it is loosened.


A little water
Dump out your soaking water and put a small amount of hot water back in. This is what you will use to wash the pan.


Dishcloth

Now, please read carefully: DO NOT use soap. DO NOT use an abrasive scrubber. You will see in the photo that all I have to wash it with is a dishcloth. That and some hot water is all you need, otherwise you will damage the seasoning and need to re-season more often. If you wash and there is still some stuck on, soak it a bit longer and go at it again.


Dry it up!

Once clean, rinse your pan, put it on the stove and dry up the excess water with a paper towel.


Don't look at my dirty stove, please!
Turn on the burner and allow it to thoroughly dry using the heat. Once dry, turn off the heat and let it cool a bit.


Well-oiled!
Add some vegetable oil and spread it all around the inside of the pan with a paper towel. Once the pan is completely cool, put it away.


Thursday, April 30, 2015

Crochet Hangers

Make custom hangers by crocheting over them with your favorite color of yarn. Custom hangers give kids a fun way to keep their rooms organized by giving them a fun place to hang their belts, scarves, ties, hair ribbons or bandanas. They also serve a functional purpose in an adult's closet. Hangers that don't have hooks to hold shirts and blouses, or whose hooks have broken off, now have grip to keep clothes in place. You can use metal hangers or plastic, adult size or child size, solid yarn, multi-color or variegated. Choose bright colors for children, subdued colors for adults, or pastels for infants.


What you need:
Clothes hanger
Yarn
Crochet hook (Size F)
3 yarn needles or darning needles
Needle nosed pliers
Scissors


Start by making a slipknot with your yarn. Begin crocheting around your hanger, using a single crochet, and stitching over the tail made by your slipknot.


Be sure to pull your single crochets tight as you crochet, so your decoration doesn't sag.


You should also pay attention to how tightly your stitches are bunched together. Every so often, push your stitches together so that they pack together tightly.


Once you have crocheted all the way around your hanger, fasten off and attach one of your needles.


Use your other two needles as wedges to allow your threaded needle to pass easily under your stitches. You will need to wedge it open, as you have pulled all of your stitches very tightly, right? You may need to use a pair of needle nosed pliers to pull your needle through the gap. Please be very careful, though, as I have broken needles in the past trying to pass them under these extremely tight stitches.


Once you have passed the tail under your stitches, trim the tail so that it disappears under the stitches.


There you have it! So cute!

Need help with the crochet? Check out my Basic Crochet Stitches post!

Thursday, April 23, 2015

Keema Mattar Recipe

Like Indian food? This might be just what you need in your life! Keema means minced or ground meat (typically lamb or mutton, but can also refer to beef) and mattar means green peas. So, this is a meat dish with peas. Combined with a tomato gravy and easy to make mix of spices, it is perfect! Now, please note that this recipe is likely far from authentic, as I tweaked, adjusted and simplified it all throughout my high school career. We lived in a very small town where access to the ingredients to make exotic dishes was extremely limited. Still, it is quite tasty, easy, and cheap to make.


Recipe:
1 lb ground beef or lamb
1 onion, chopped
2 cloves garlic, minced
2-3 tomatoes, chopped (I don't typically keep fresh tomatoes on hand, so I use canned. And, since I like lots of tomatoes for my gravy, I usually use two 14 ounce cans. Yum!)
2-3 tsp curry powder
1 tsp paprika
1/4 tsp chili powder
1/4 tsp black pepper
1 tsp salt
1 Tbsp ground cumin
1 can green peas, drained

Chop onion and mince garlic. In a wok or skillet heat 1-2 Tbsp vegetable oil over medium heat. 
Add onions, and stir fry until they begin to turn golden brown. Add minced garlic and stir fry for just a minute longer (don't burn it!) 

Add the meat and continue cooking until no pink remains. Add your tomatoes to this mixture .Reduce heat, cover and simmer for 20 minutes, stirring occasionally. 

Measure out your spices and set aside.
While your mixture simmers, start up a batch of rice. 
Once the time is up, uncover and add your spices. Mix them in thoroughly, let simmer a few minutes and you will notice that they will thicken up the liquid in your gravy a bit. Carefully fold in your drained peas, and allow them to warm through. 
Serve on a bed of hot cooked rice.


Thursday, April 16, 2015

Staying Organized - Ribbon


I bought a bag of ribbon at one of the local thrift shops for about 75 cents. When I got home I decided to get it all organized. A few of the bundles were bias tape and edging, so I put those in my drawer for later. 
As for the ribbon, I took an empty toilet paper roll and taped a free end of each color of ribbon to it. 
I carefully rolled up all three colors of ribbon onto the tube, and used a straight pin to secure the loose end of each color once it was all rolled up. There ya go! Got more colors to roll up? Use a paper towel tube!